How to Schedule a Live Stream on YouTube
How to Schedule a Live Stream on YouTube
YouTube is one of the most popular streaming destinations. The process of setting up your stream to YouTube with Wave.video is no different from other destinations.
Here are the steps to schedule a live stream on YouTube:
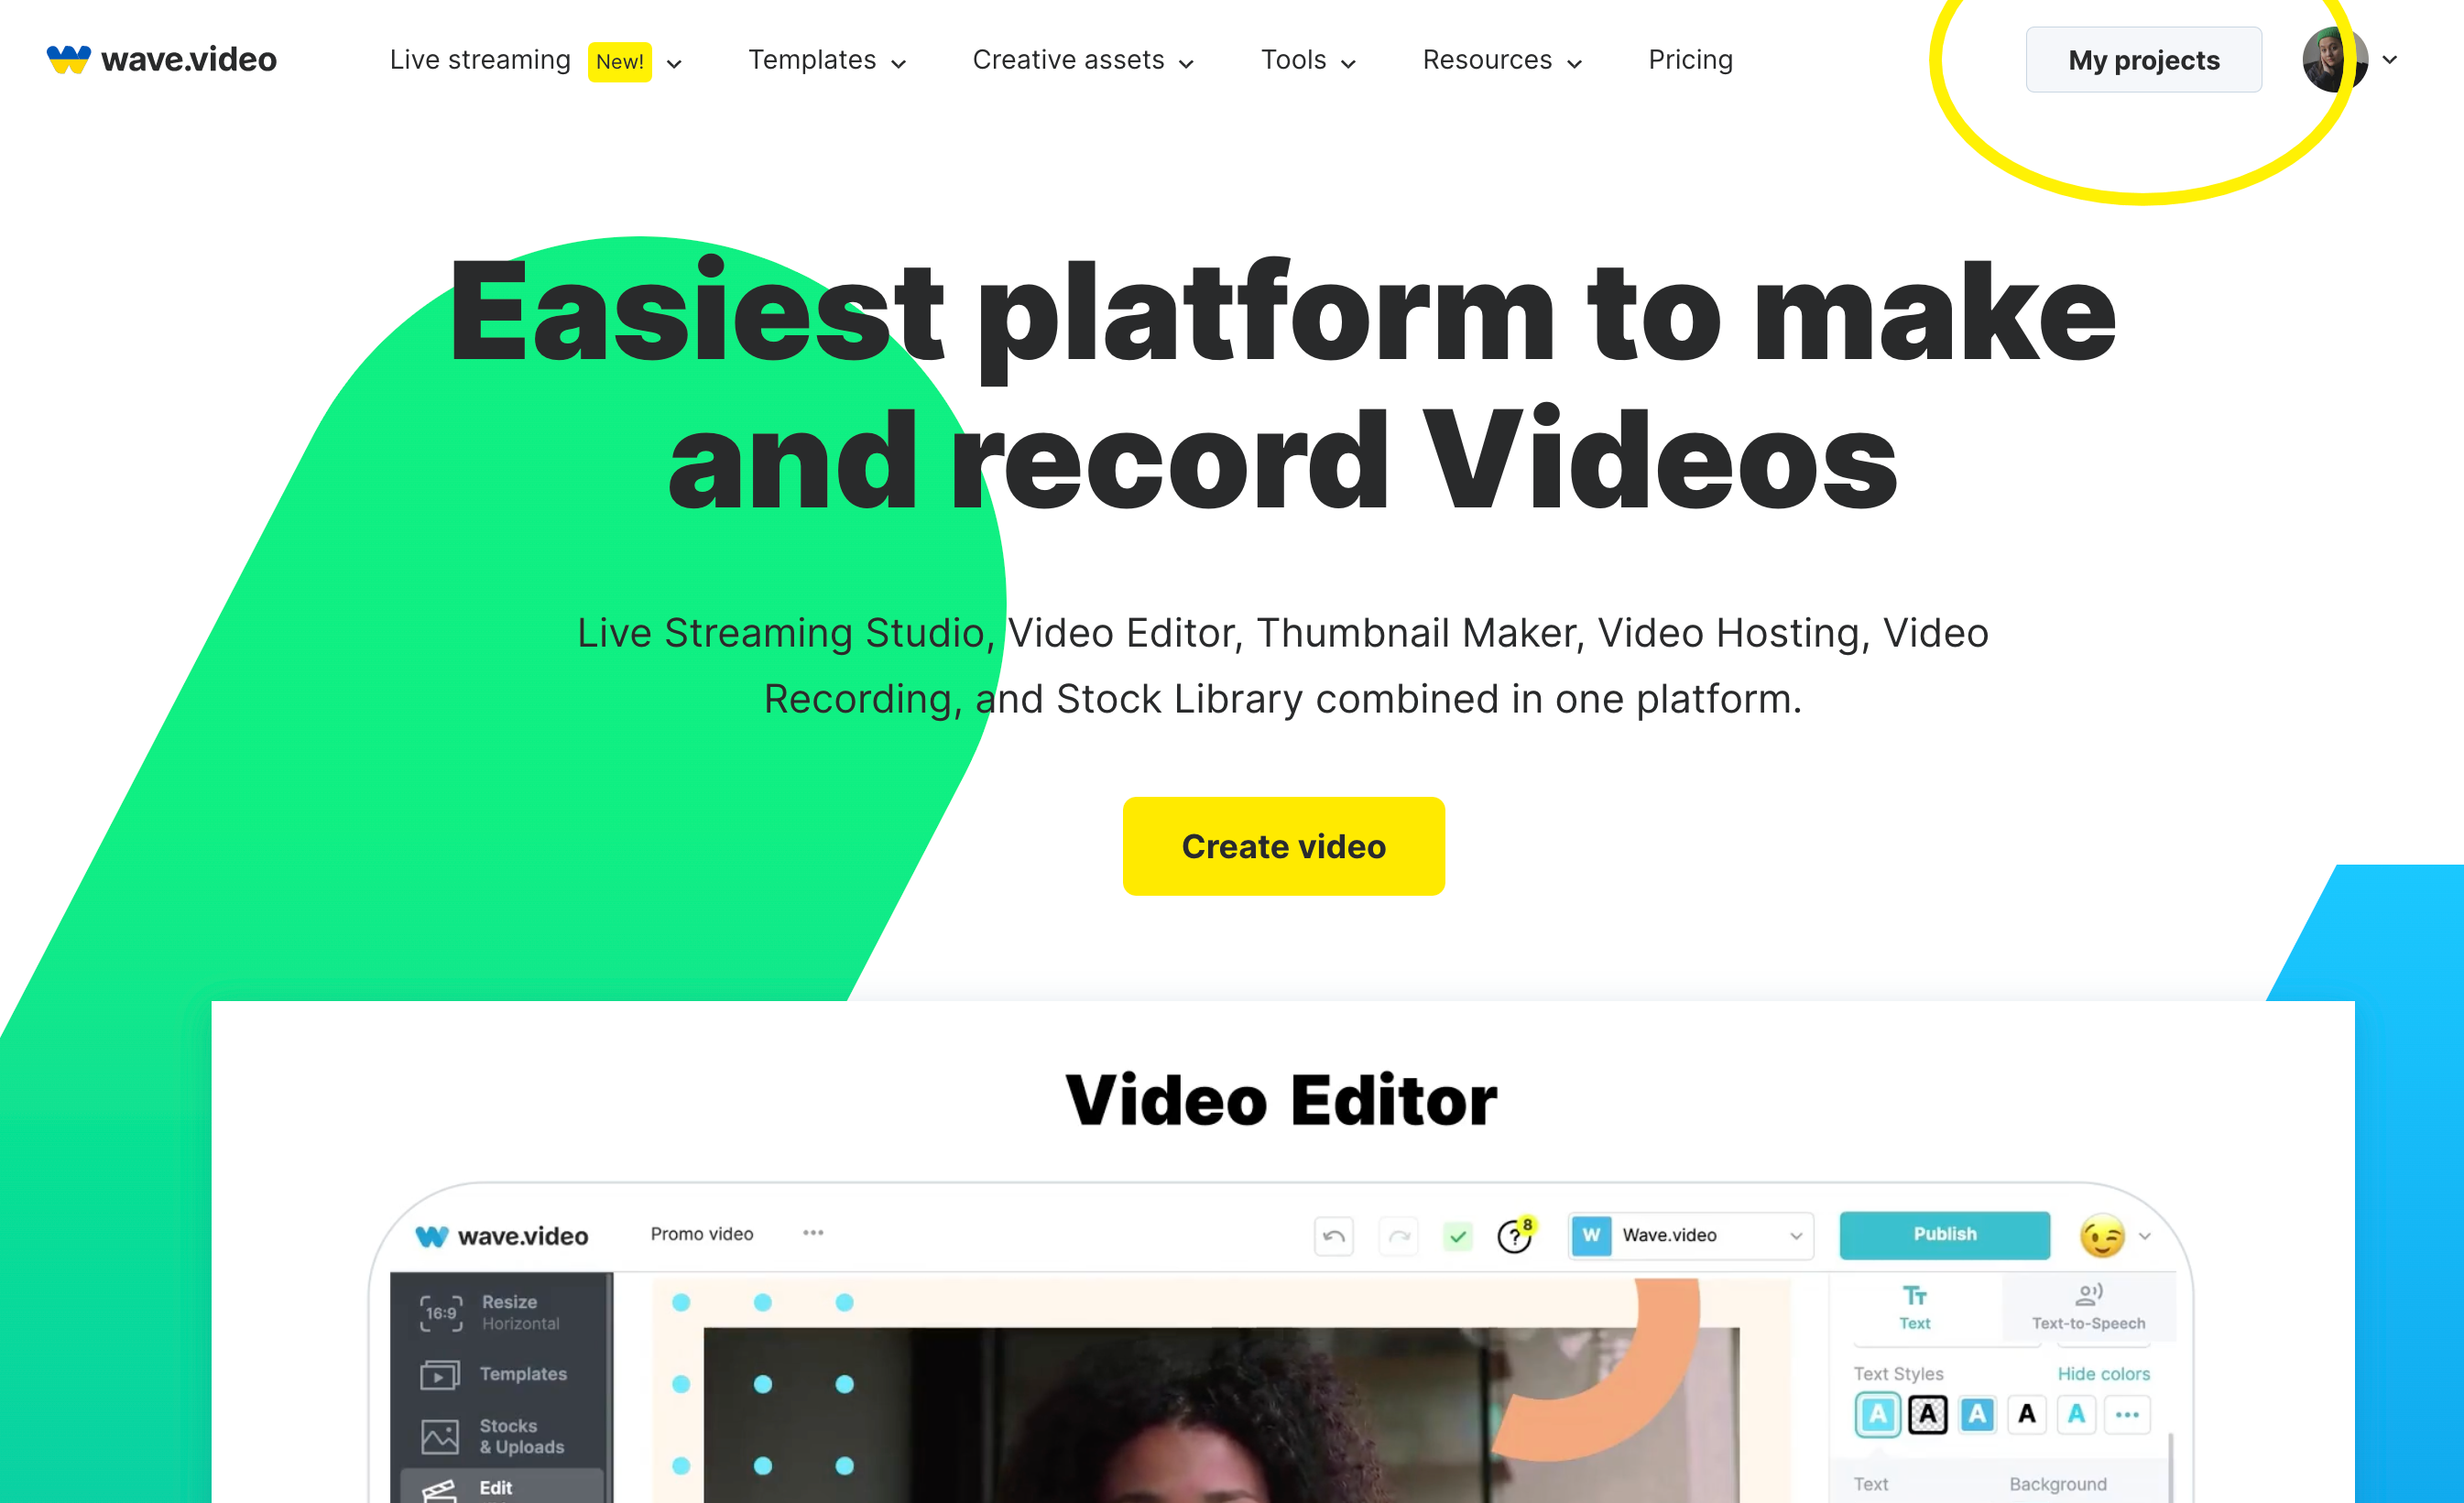
Step 1. Enter your Wave.video account and go to My Projects.
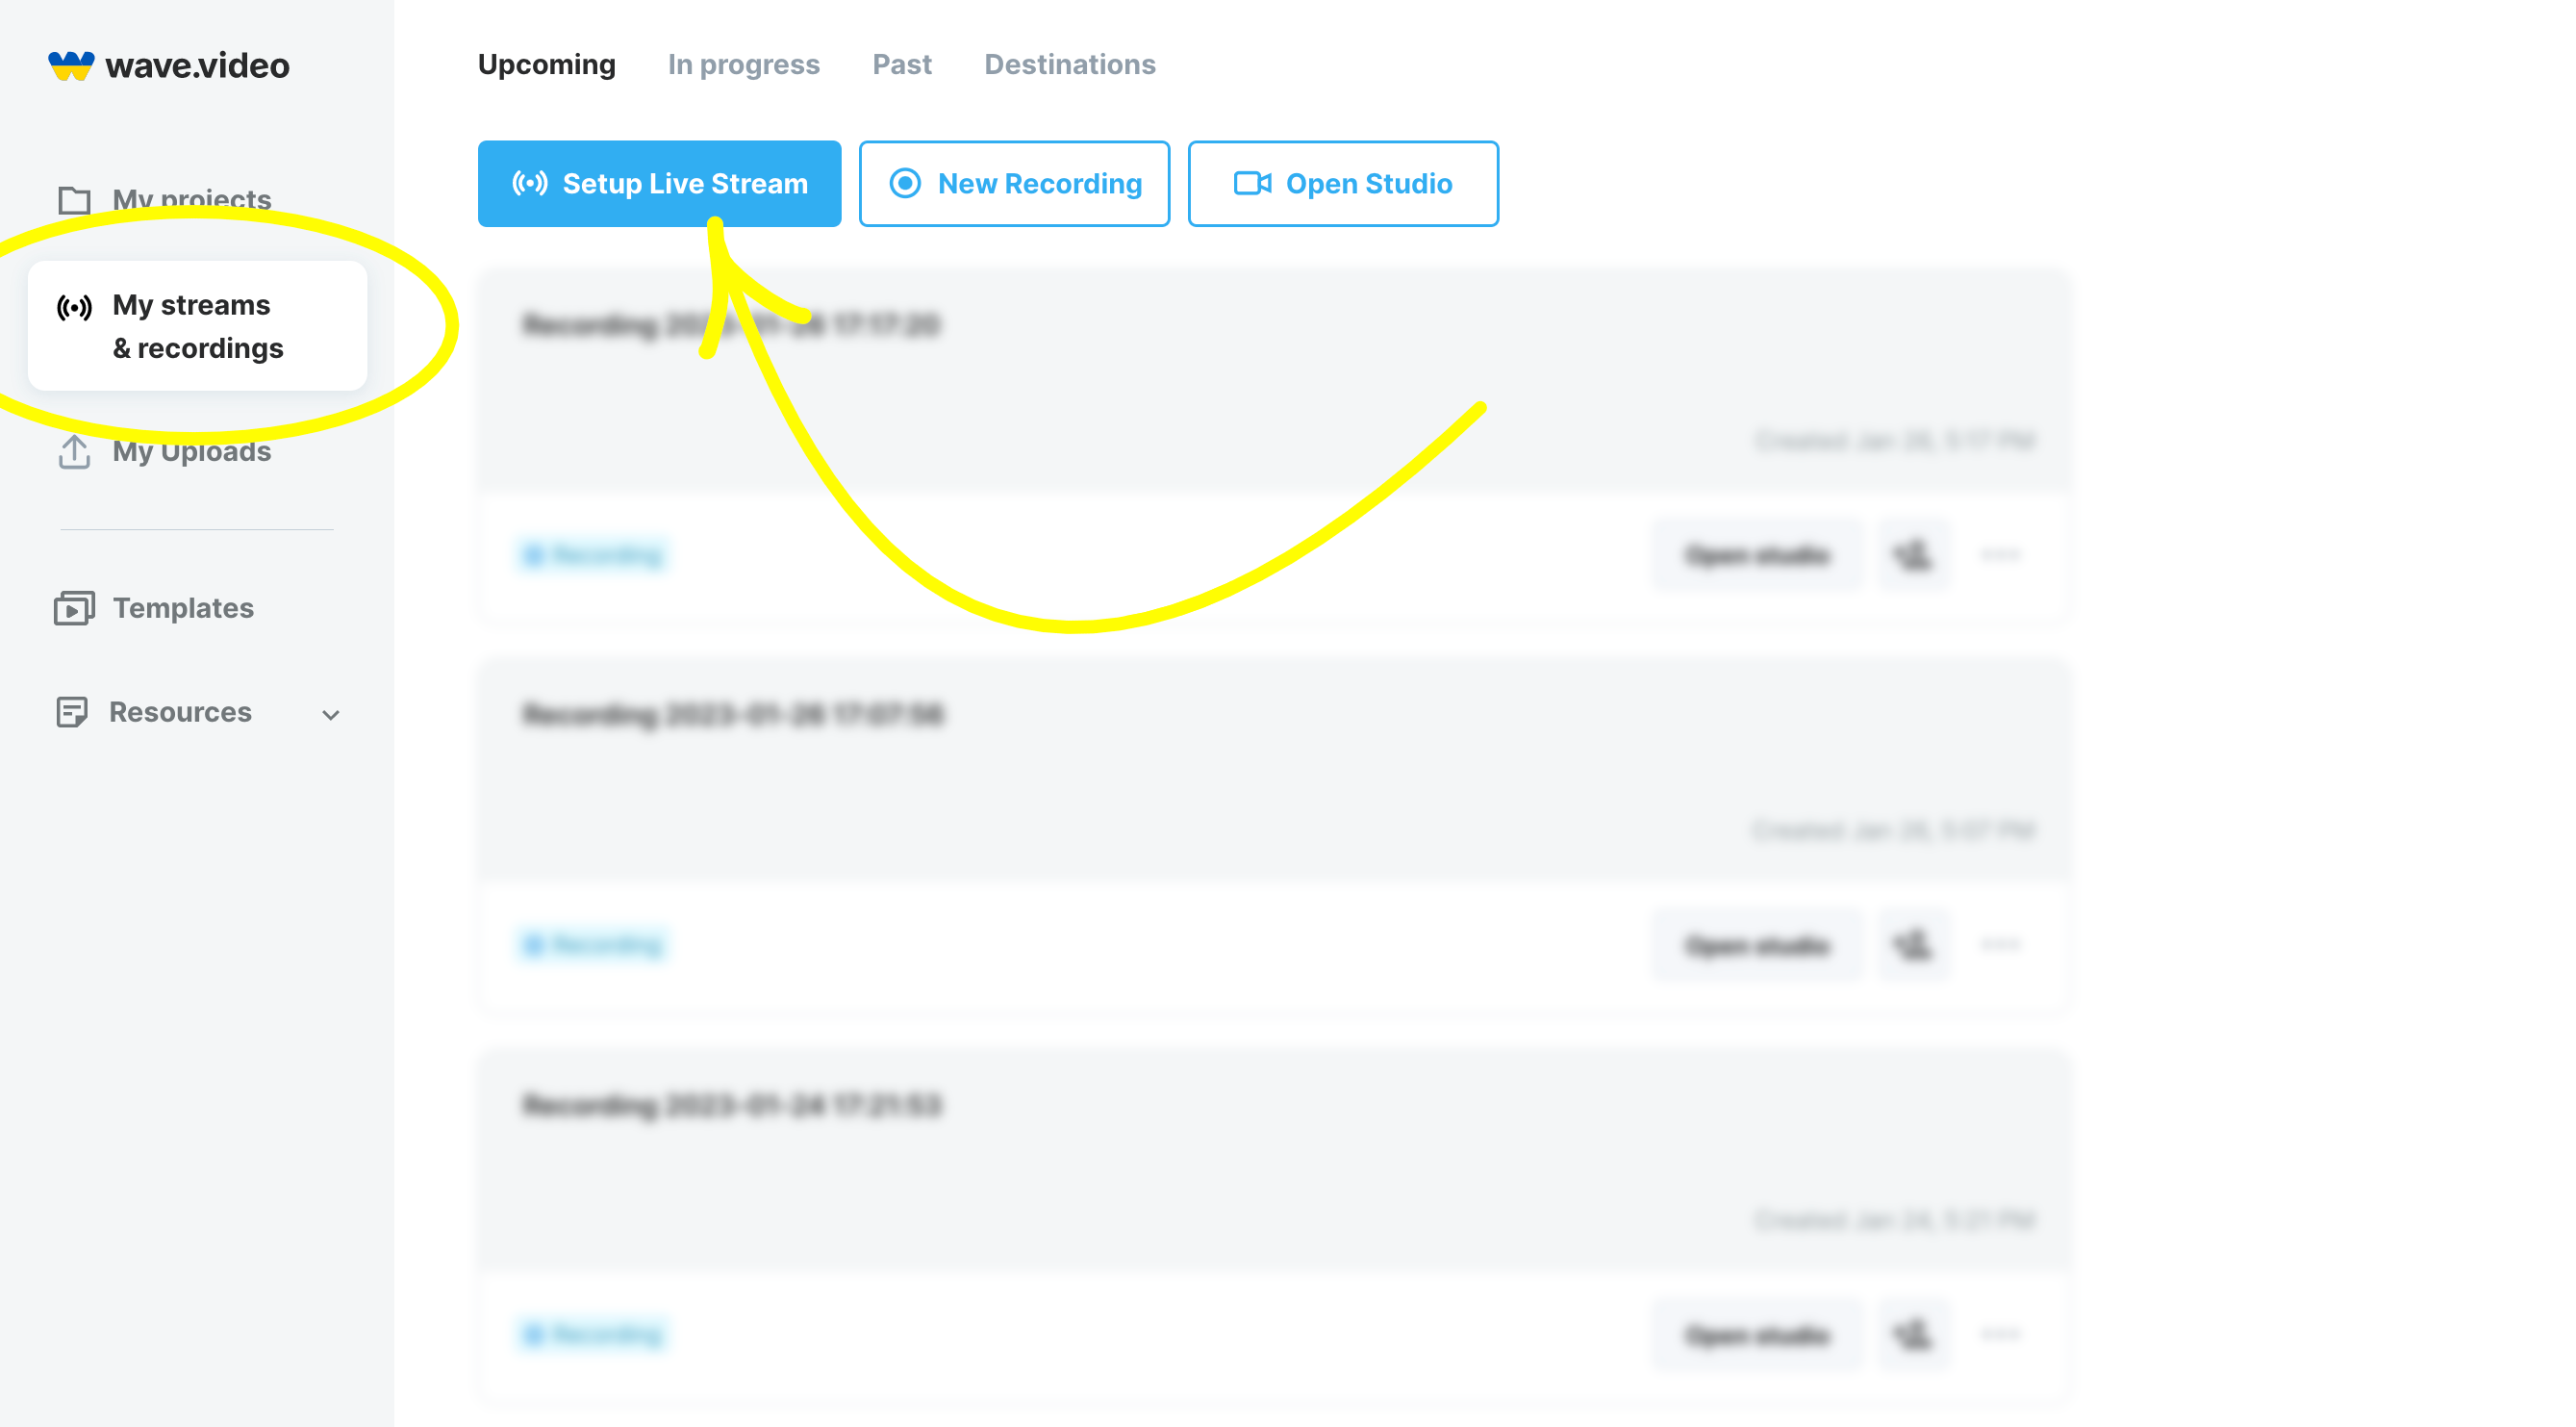
Step 2. Select My streams & recordings to enter the section with your previous streams. On the top, click on the blue Setup Live Stream button.
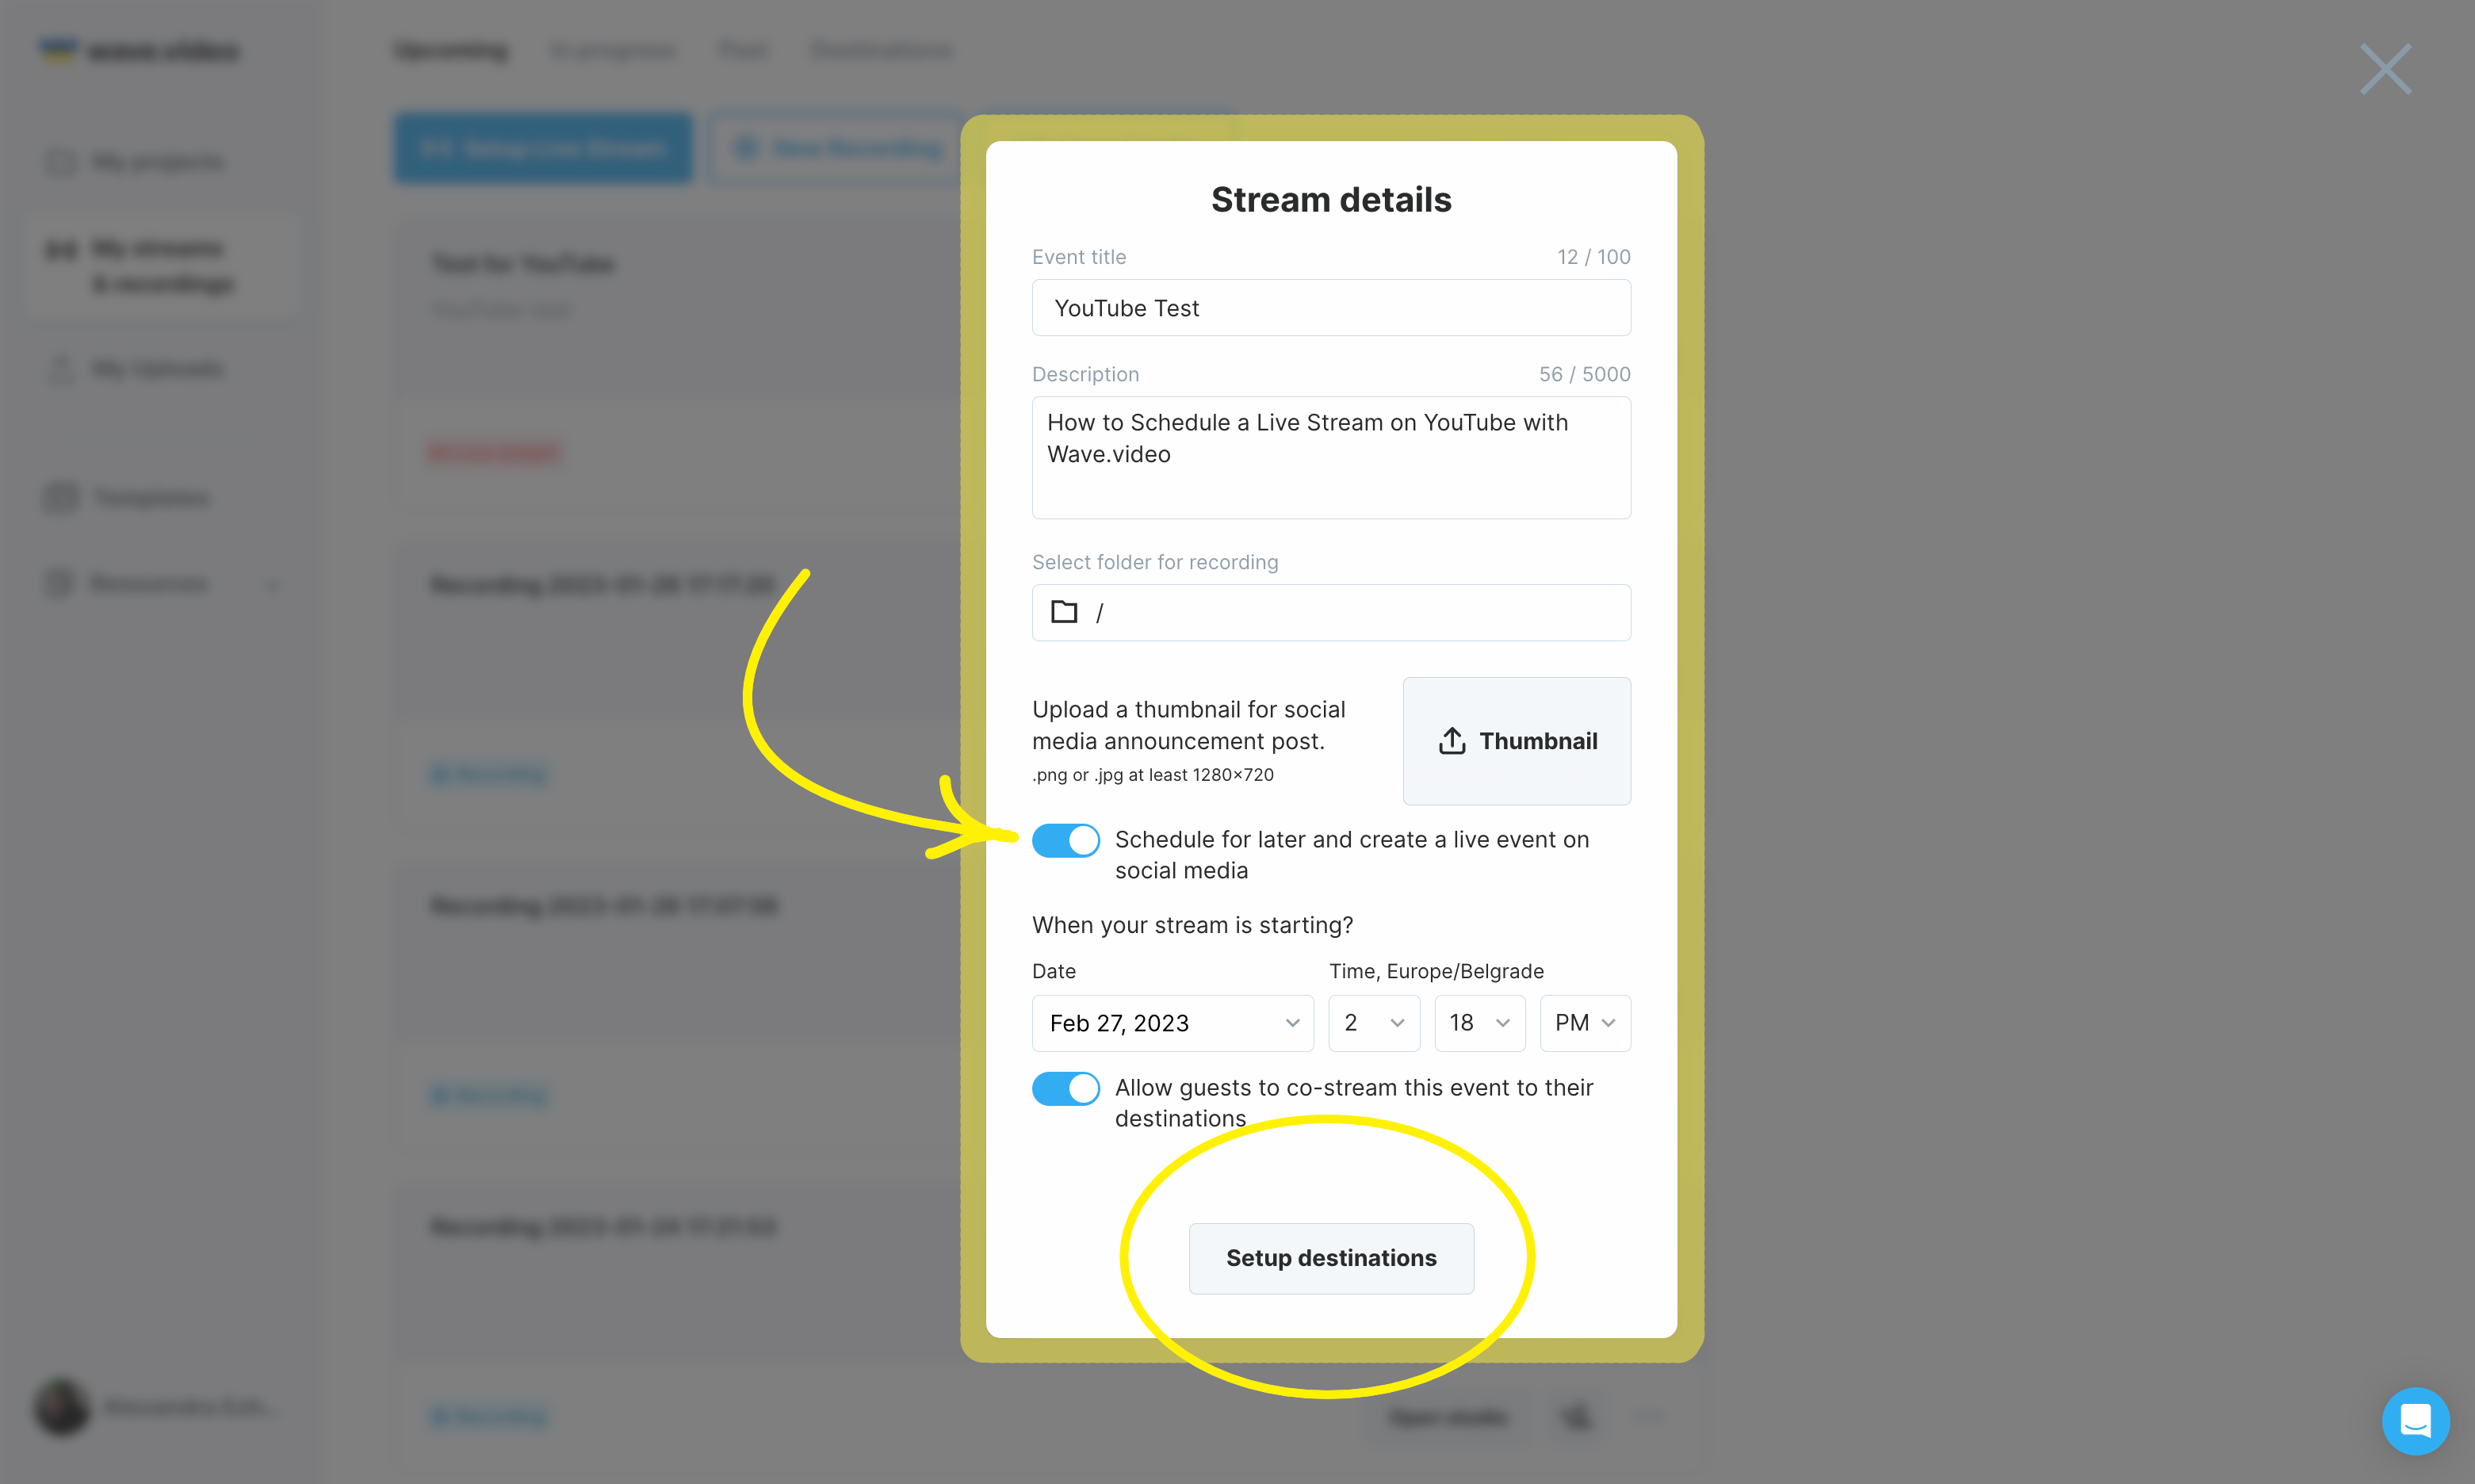
Step 3. Here you should enter the title for the stream and description and add a thumbnail if you have one. If you want to schedule your YouTube stream for the exact time in the future, remember to enable scheduling and set the date and time. Then click on Setup destination.
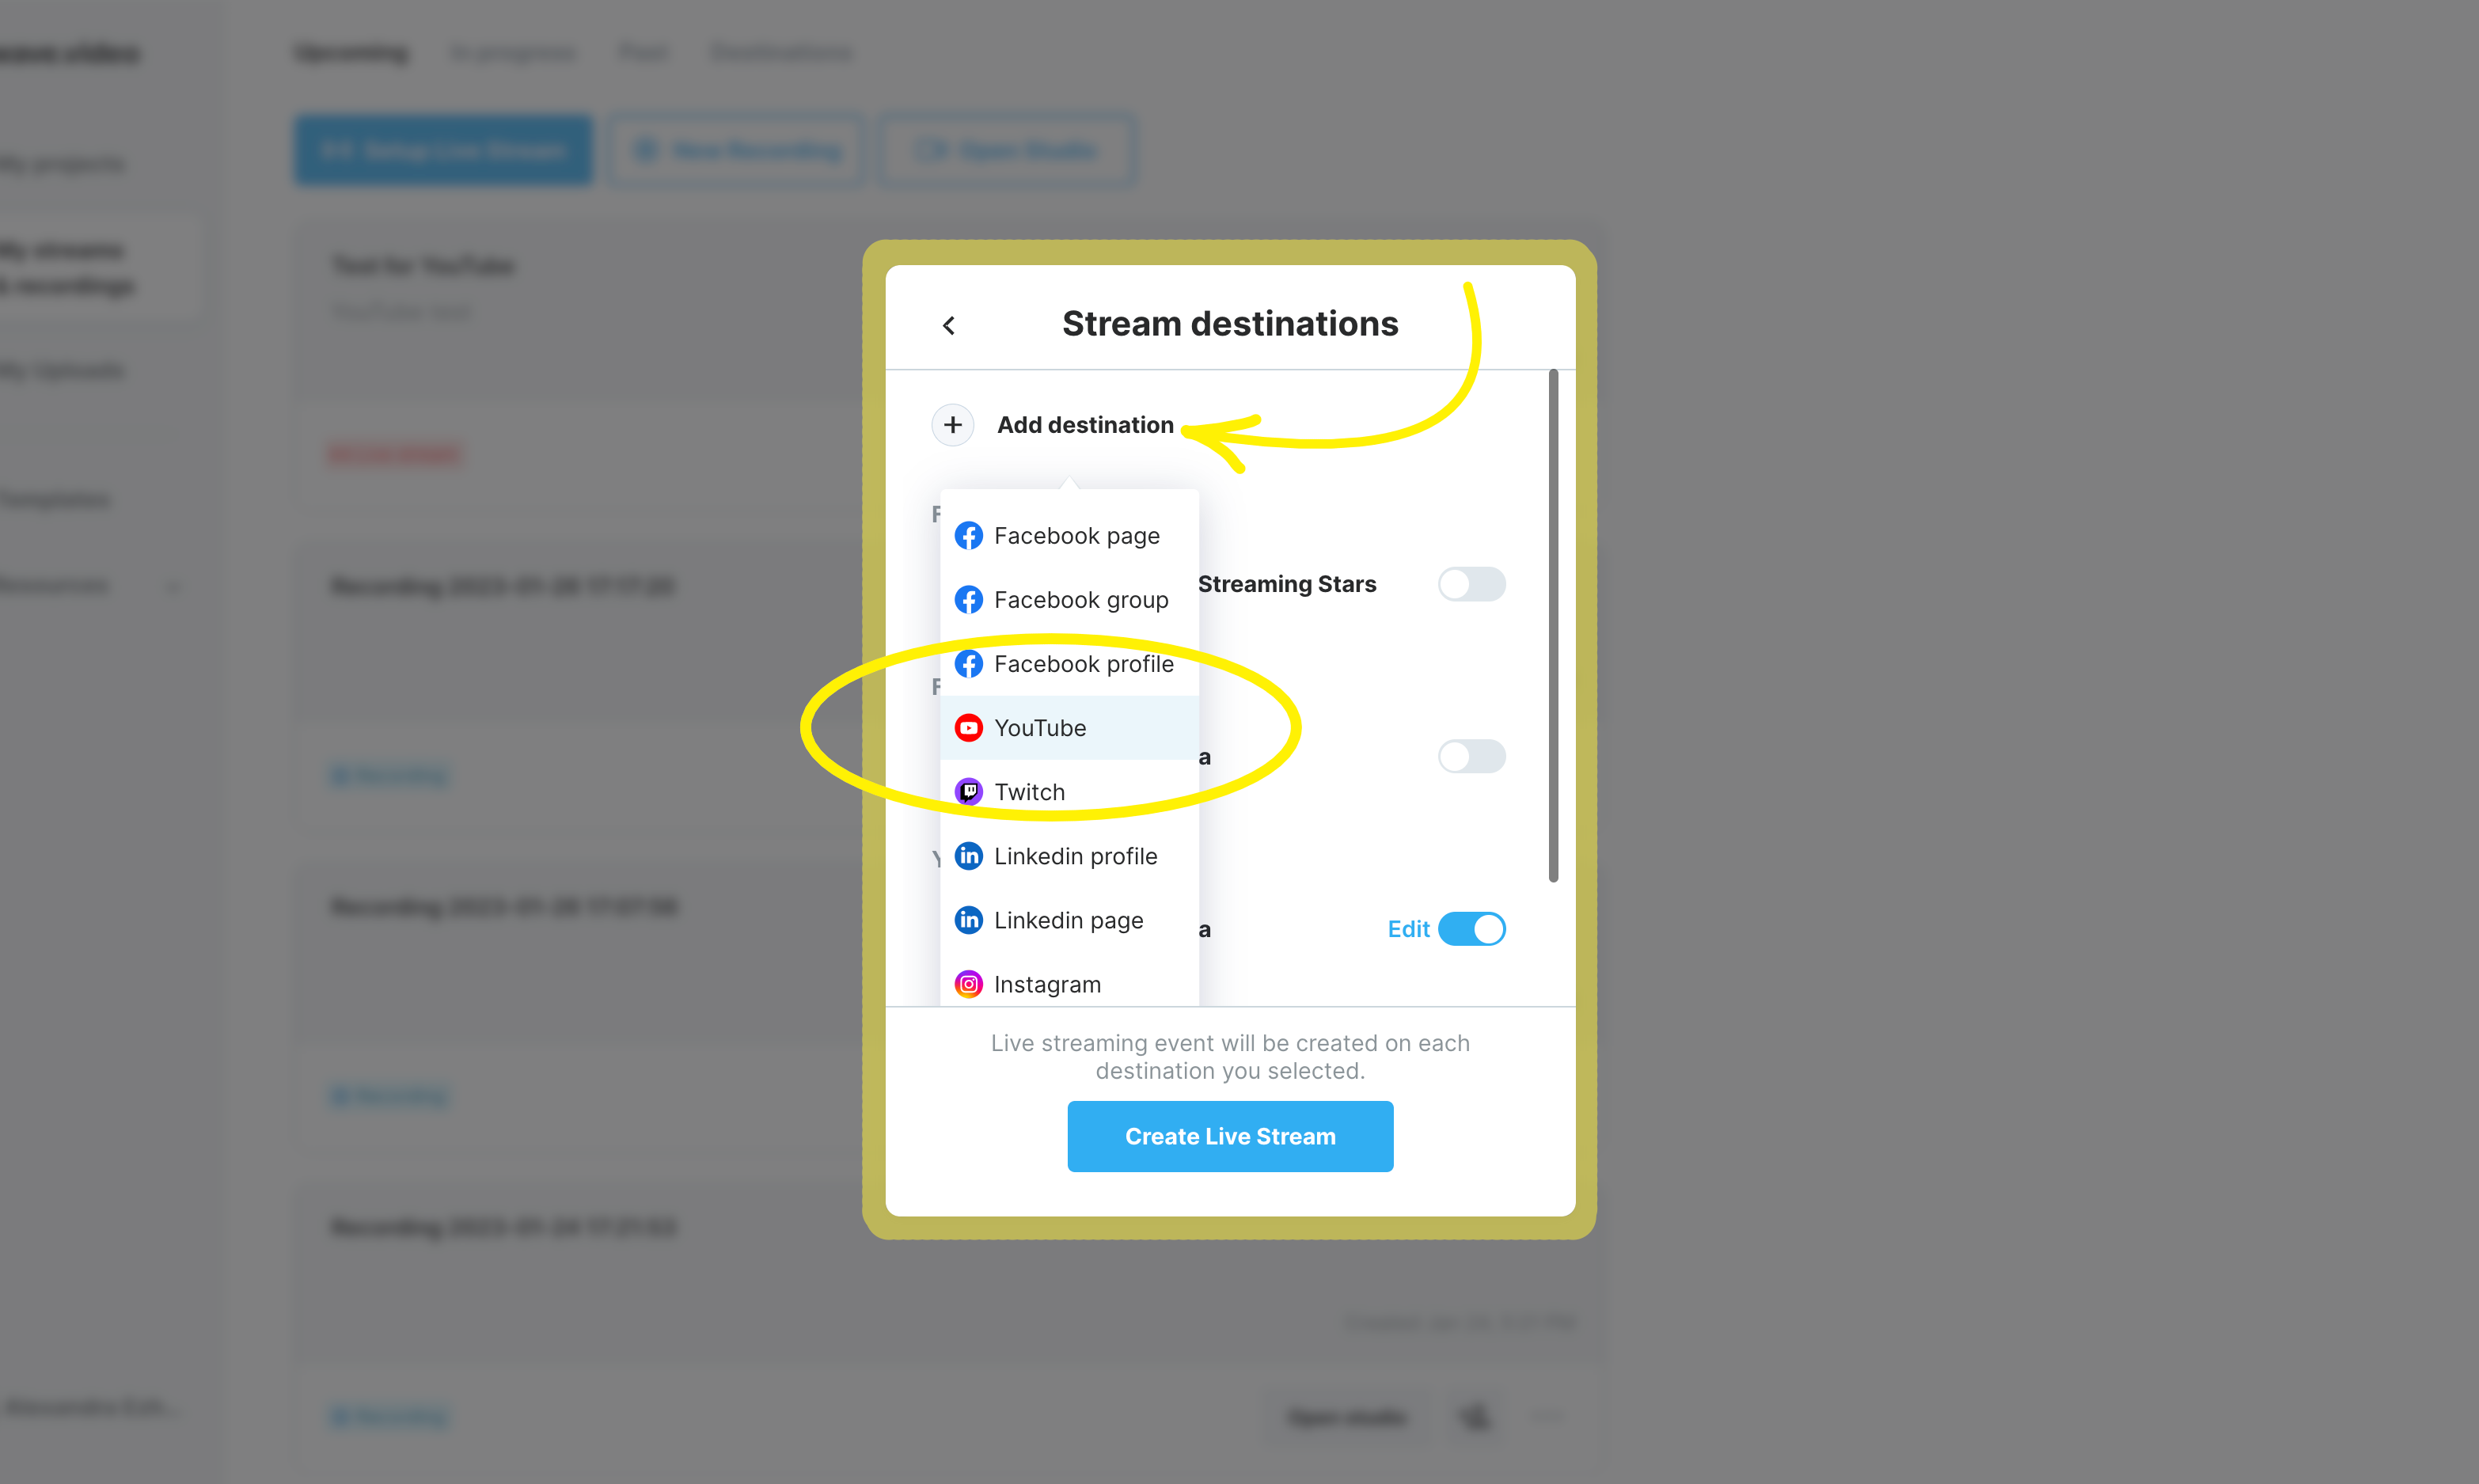
Step 4. If it is your first time scheduling a YouTube stream, click on Add destination.
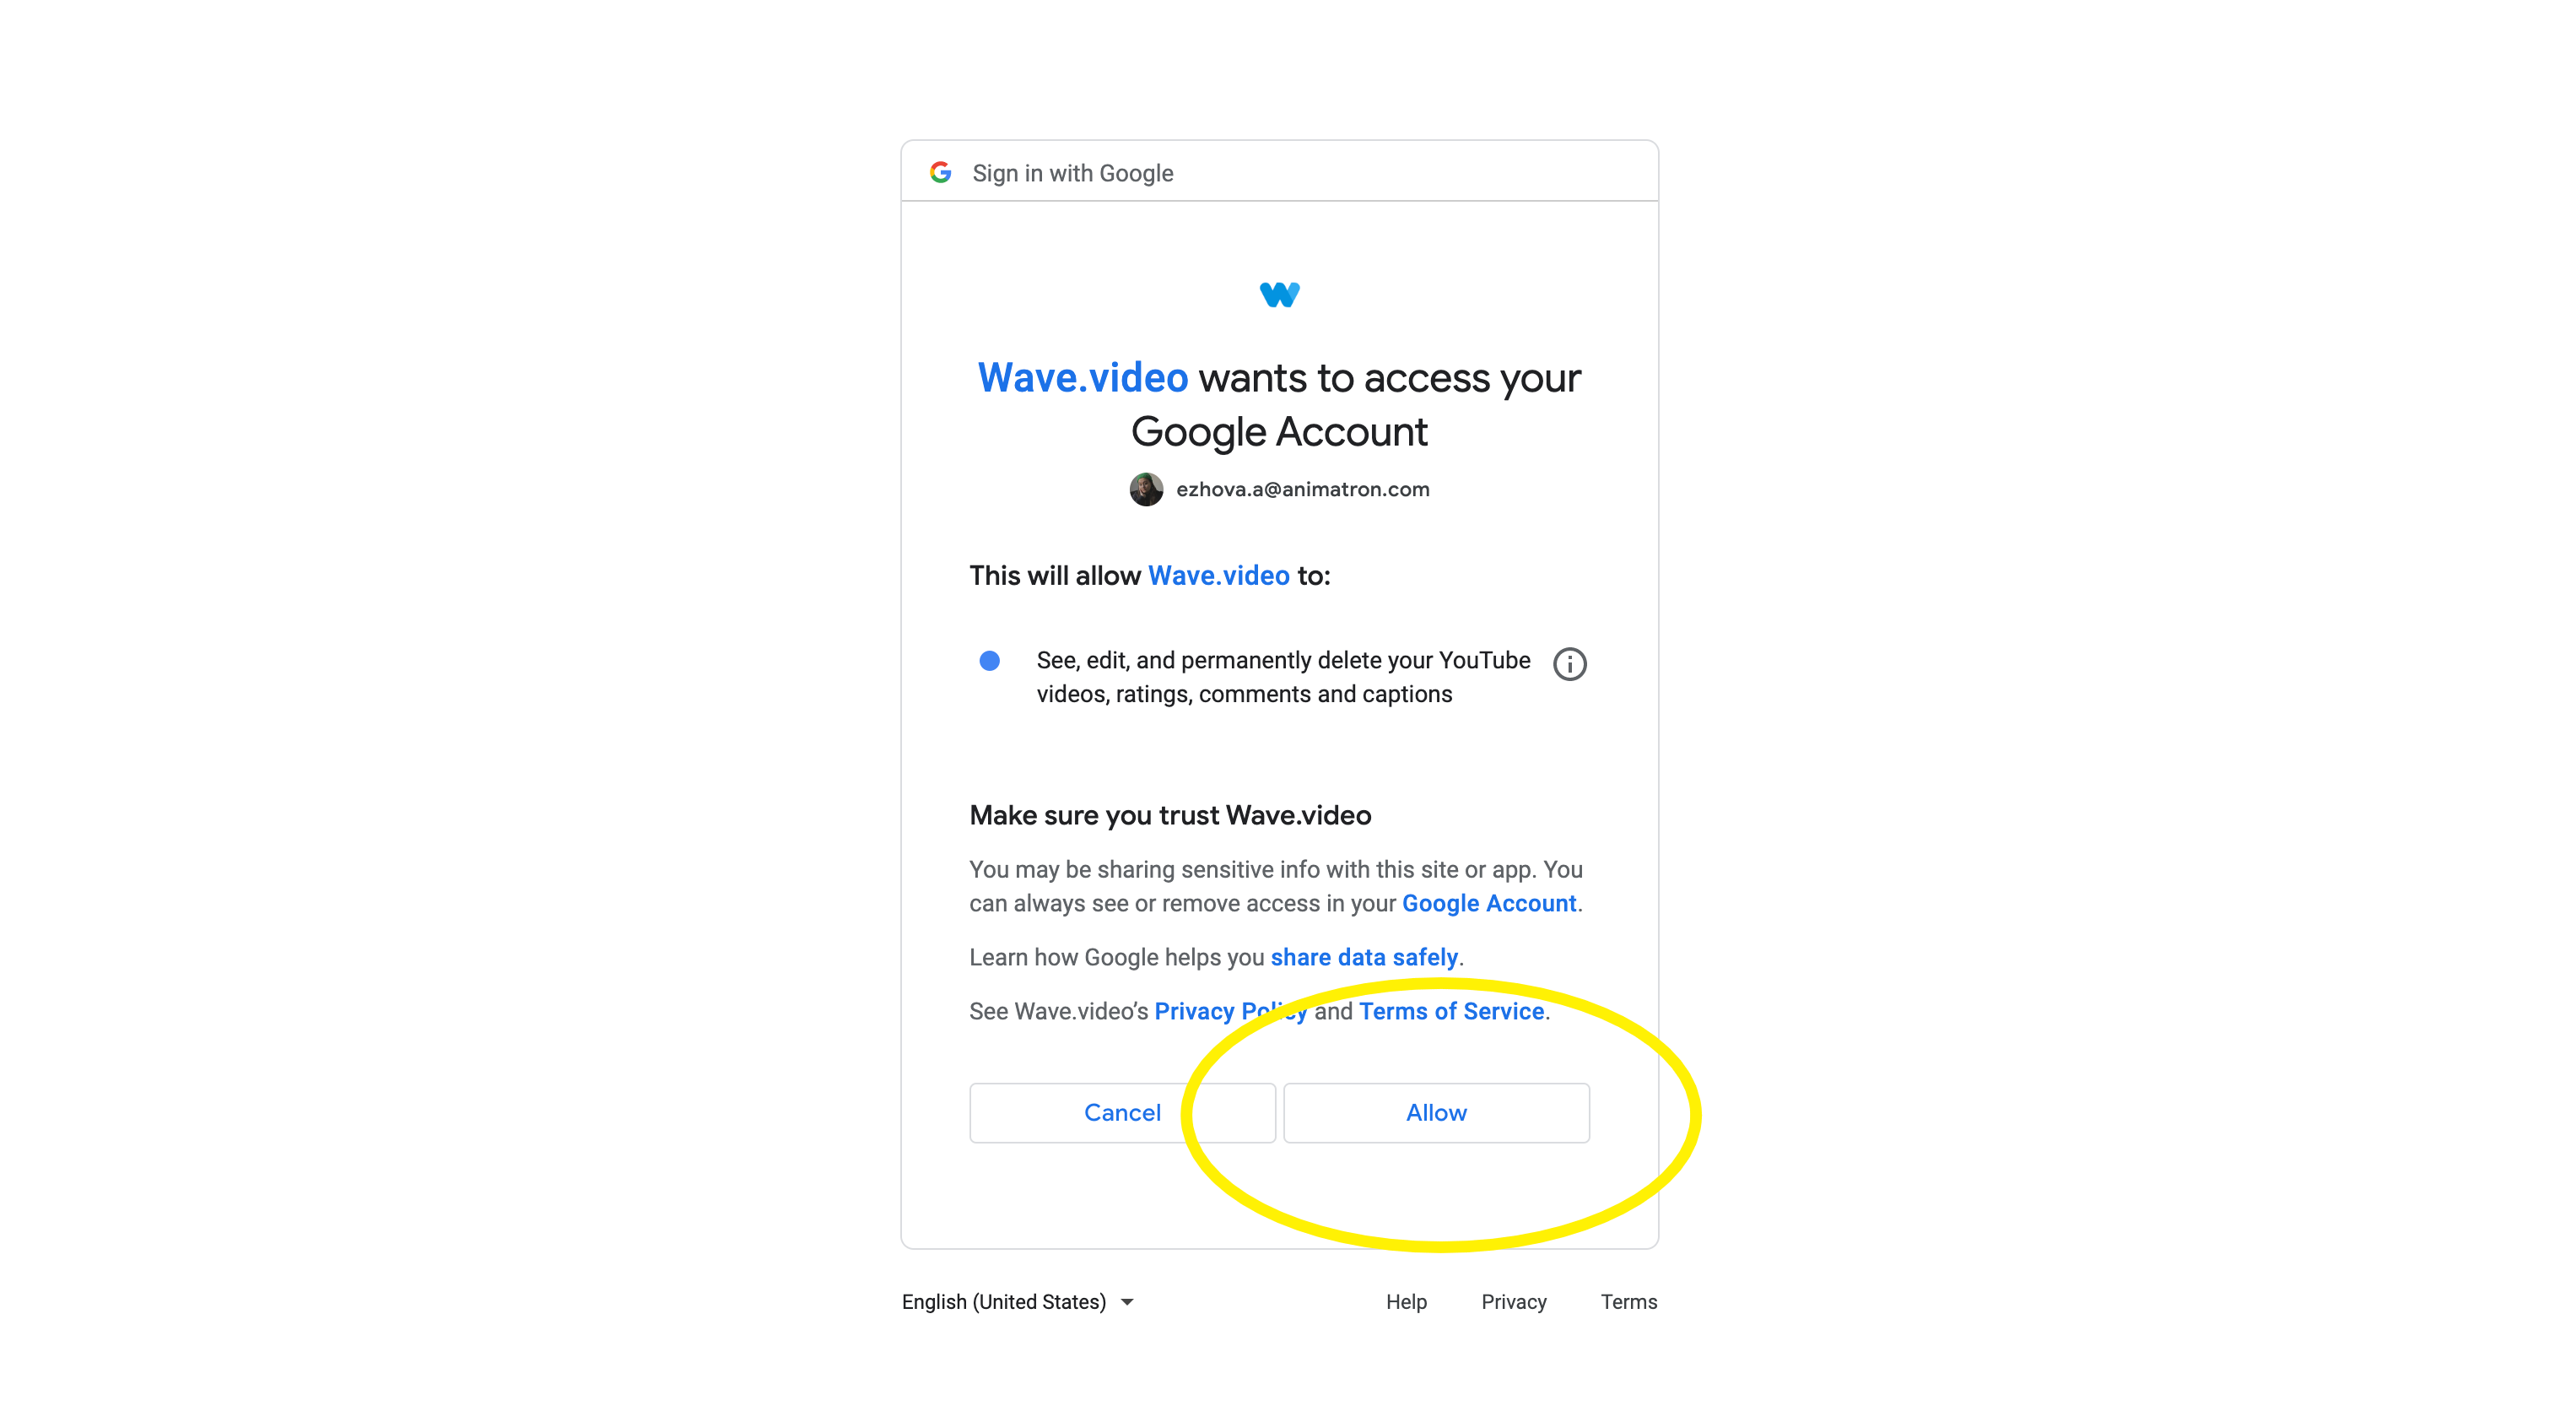
Connect your YouTube channel with your Wave.video account and allow it access to your videos, comments, captions, etc.
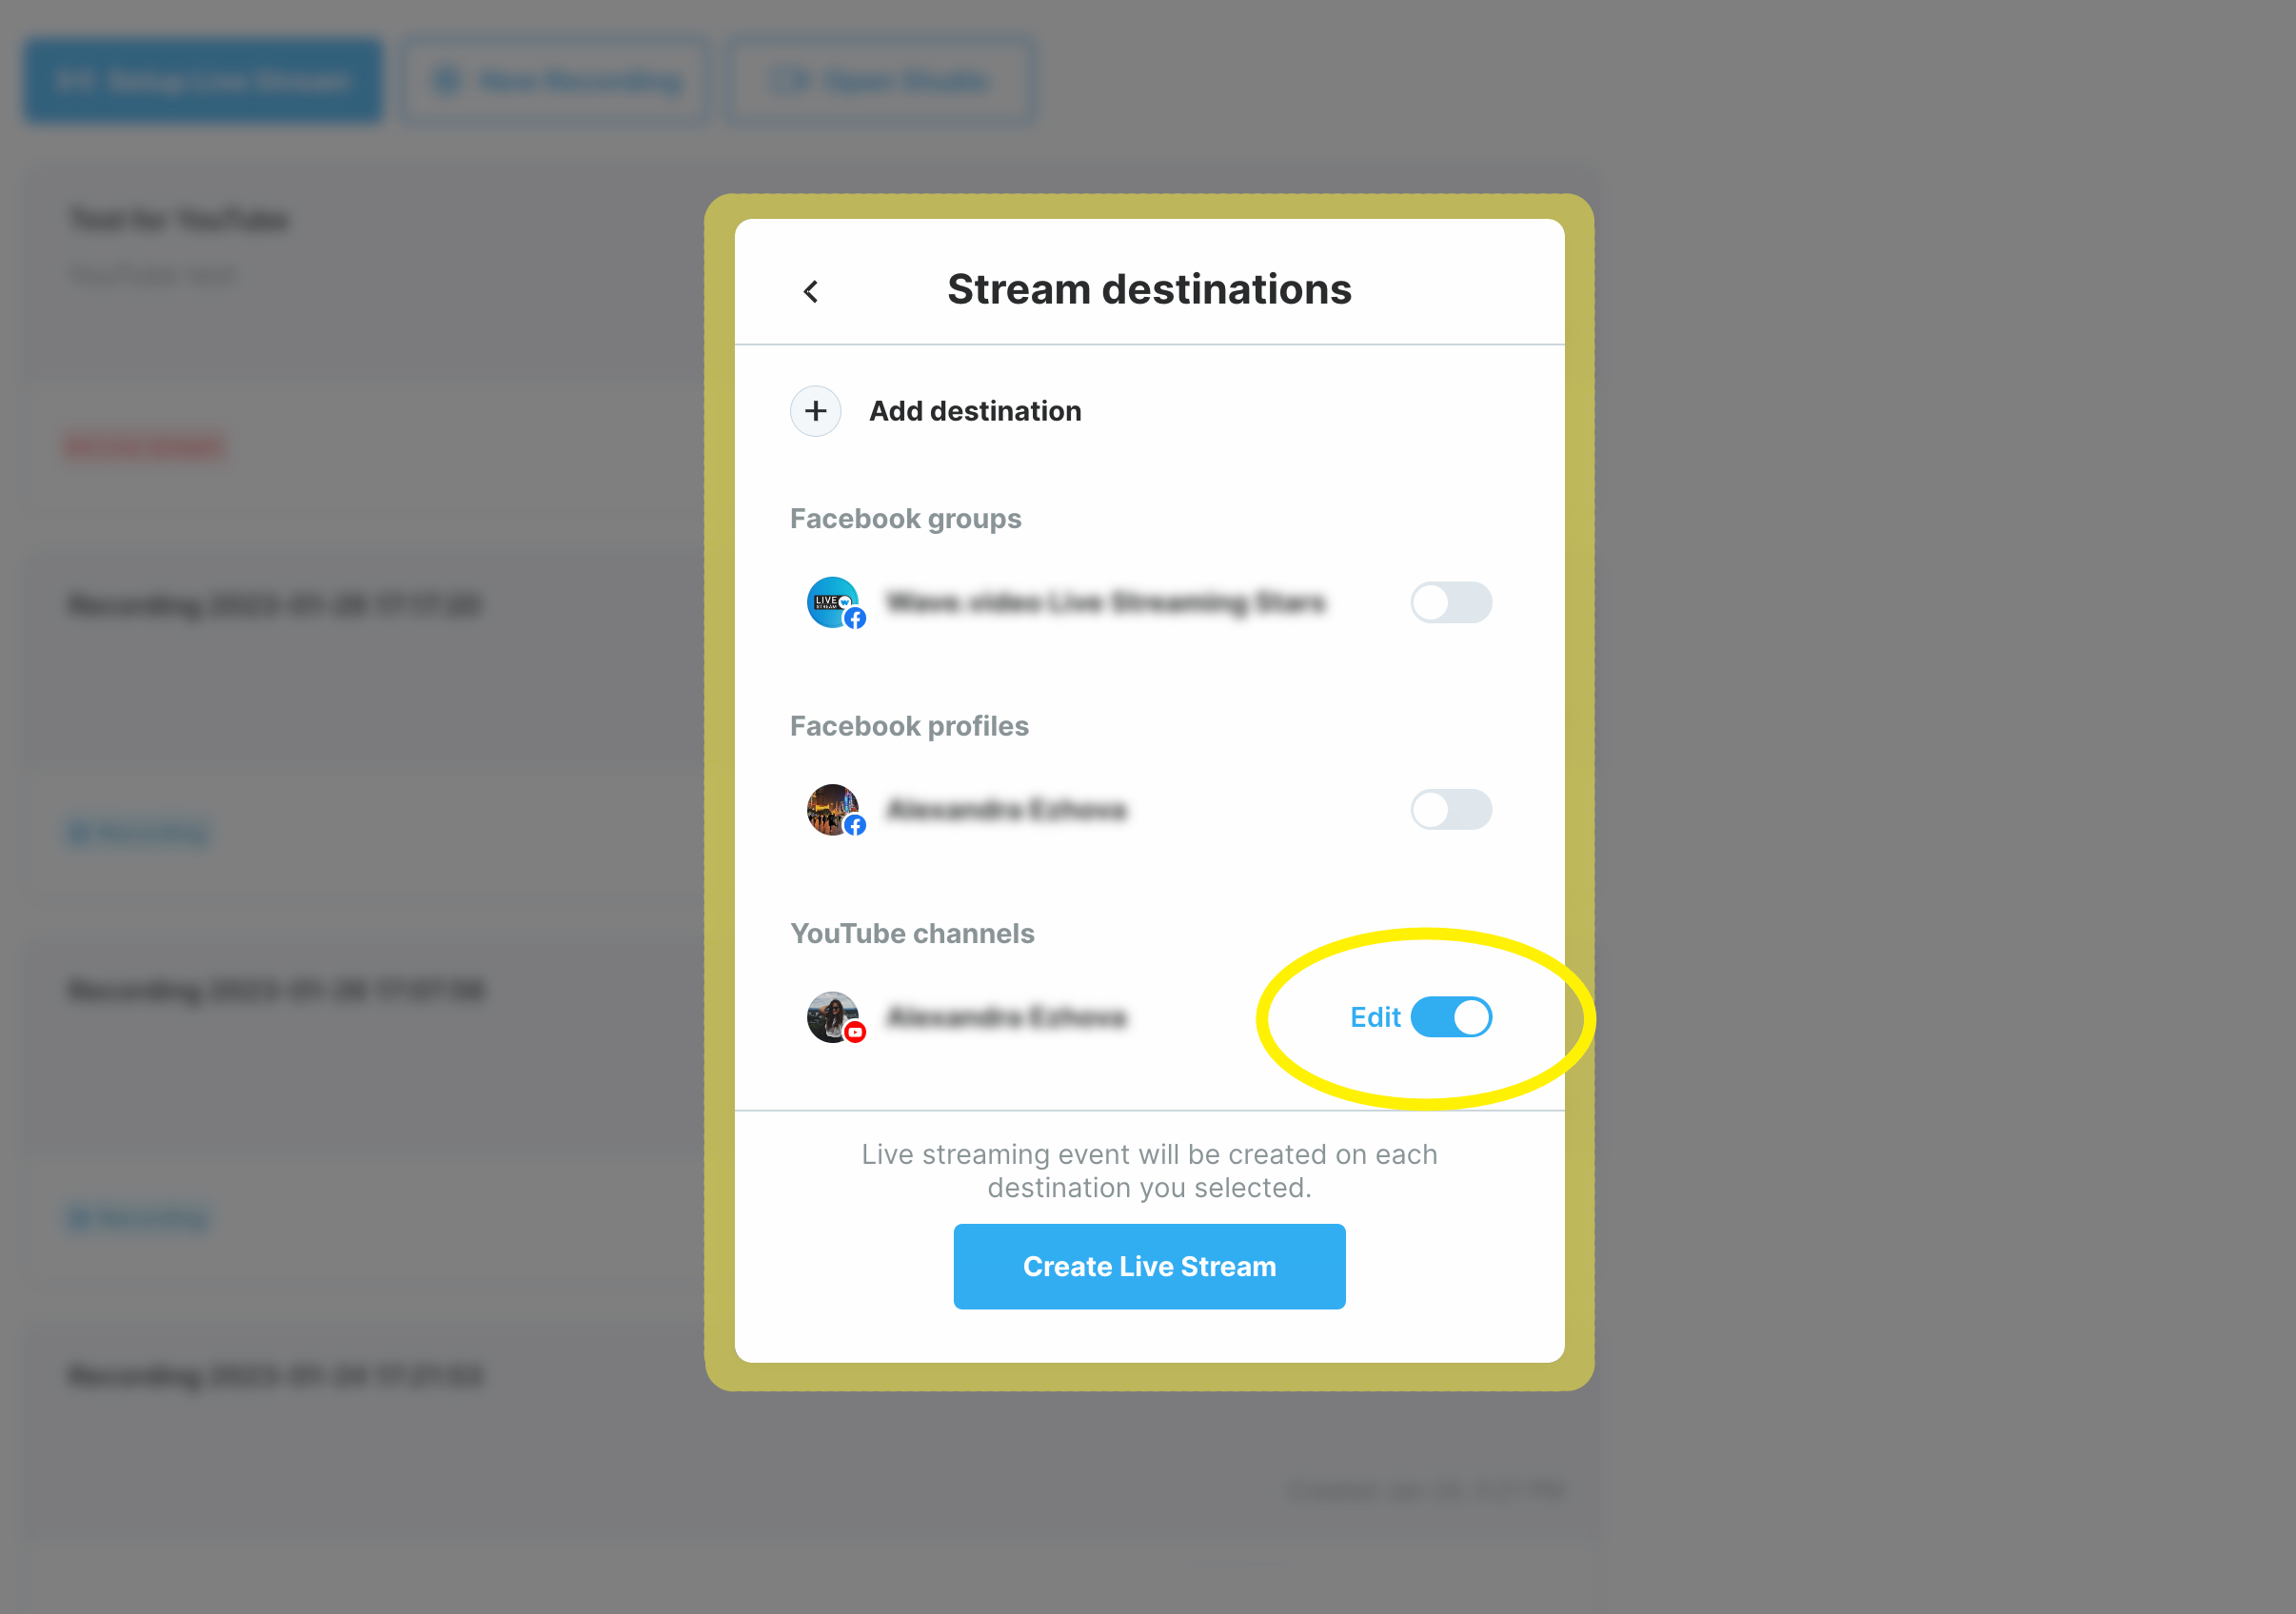
Once you are done with the security step, enable the YouTube channel as a streaming destination and press the Create Live Stream button.
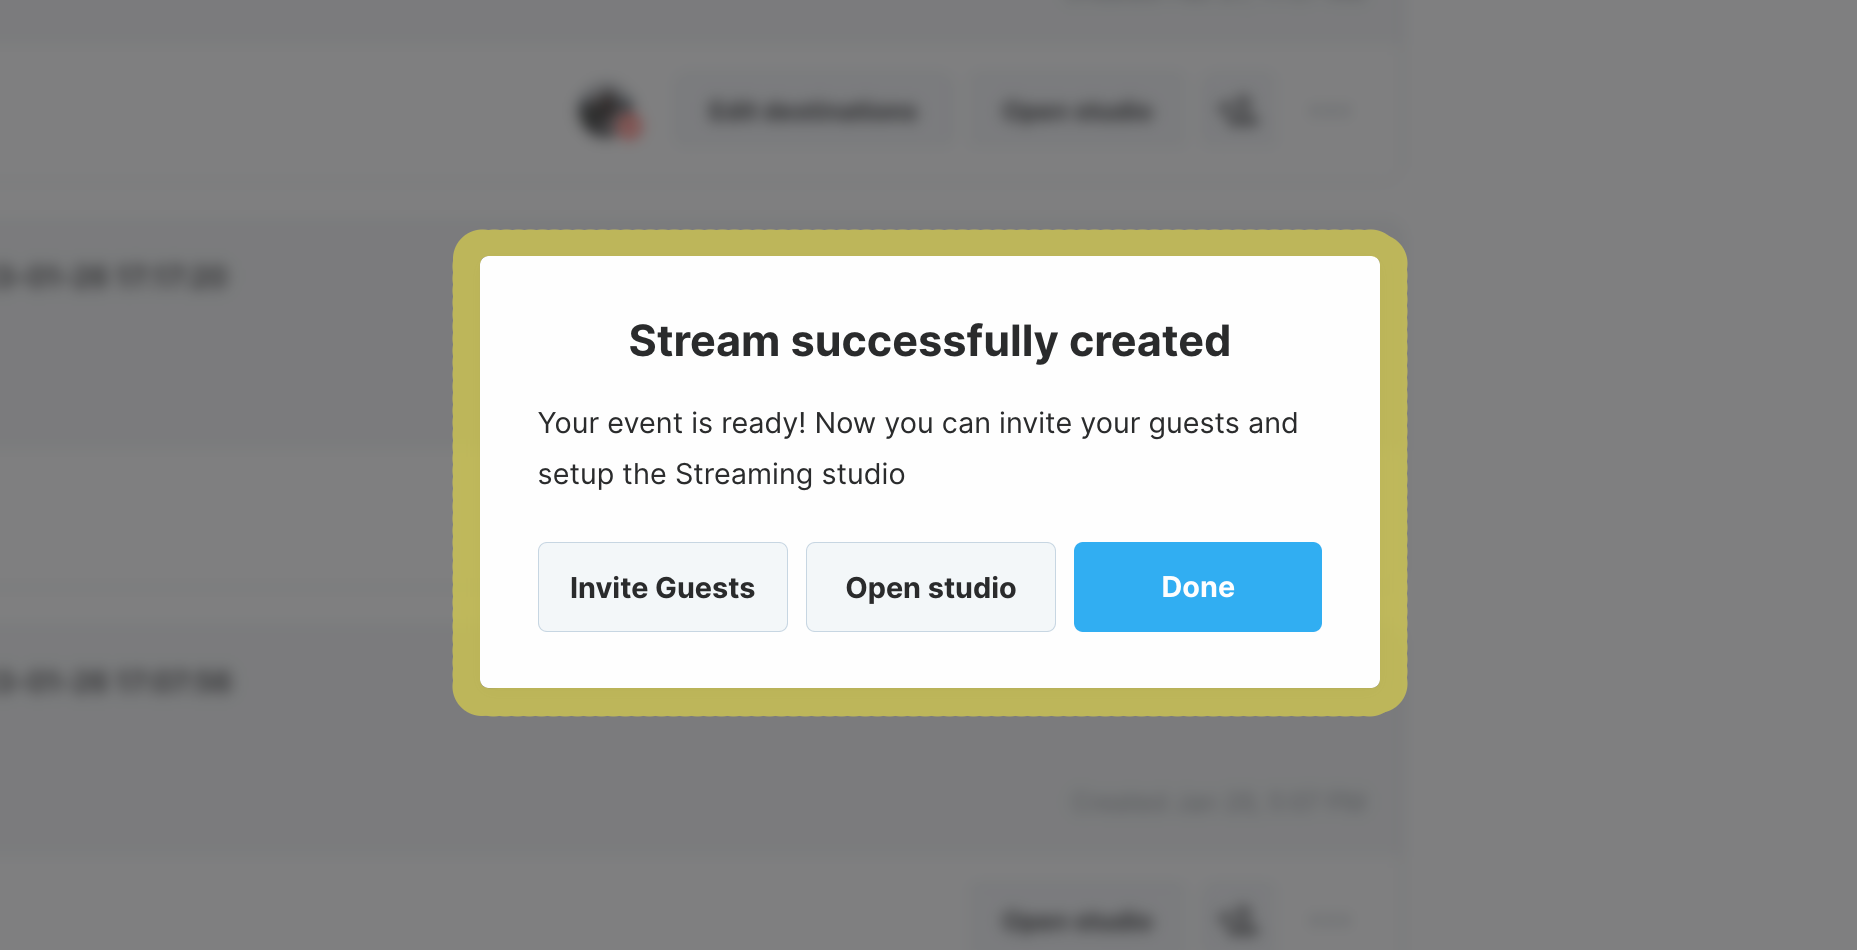
If you followed all the steps, you see a successful message.
Here are 3 options for further action:
Invite Guests – generate a link invitation for other people to join your stream as a guest.
Open studio – enter the studio before the stream and prepare all the visuals, media files, and captions to have everything you need on hand while being live.
Done – switch from scheduling to any other Wave.video tool (create a thumbnail for the stream, find an ideal template for your stream scenes, etc.)
Go Live On YouTube with Wave.video
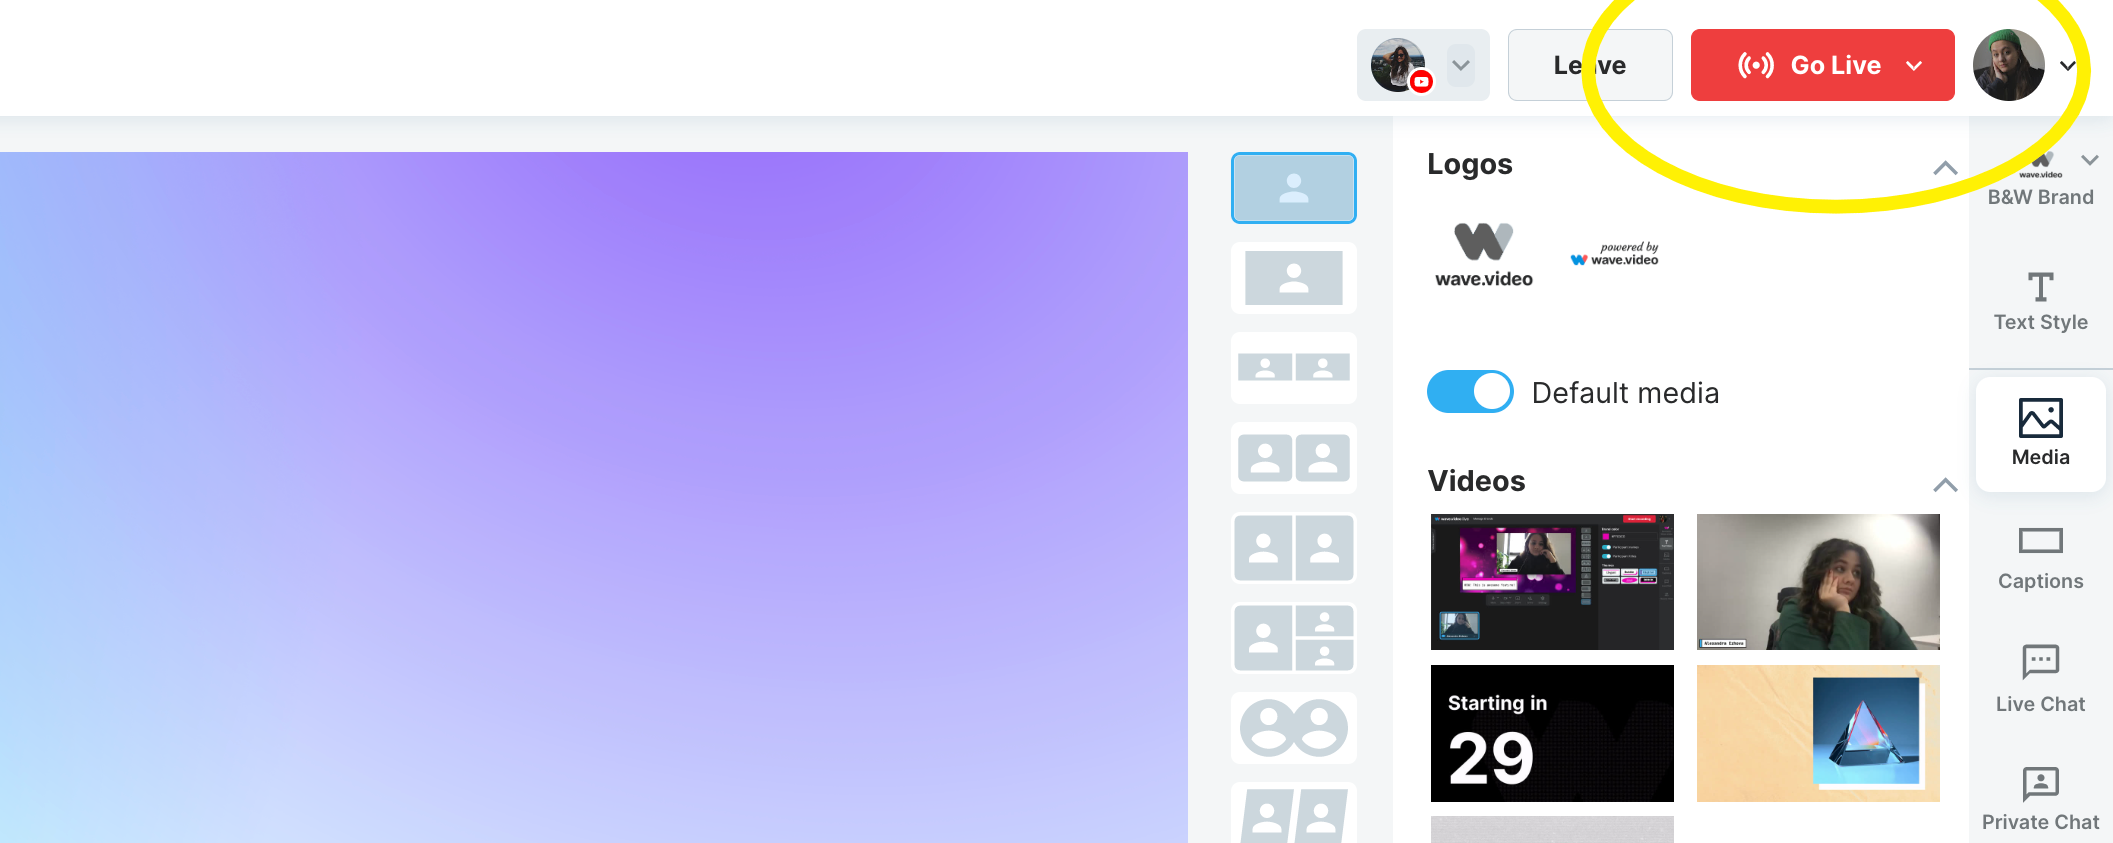
When all the preparations for the stream are finished, and you are ready to go live, the only thing you should do is click on the Go Live button and enjoy your streaming experience.
Try to Schedule YouTube Stream

