Getting started with Wave.video live studio
My Streams & Recordings
When entering the Wave.video account, go to the My Streams & Recordings section. At the top of the page, there are four sections: Upcoming, In progress, Past, and Destinations.
Upcoming – here are all the scheduled streams and the recordings from the studio.
In progress – shows the list of live broadcasts.
Past – presents the list of all the live streams and recordings you have ever had.
Destinations – shows all the destinations for streams you have connected with your Wave.video account (Facebook page, group, or profile; YouTube; Twitch; Linkedin profile or page; custom RTMP, etc.).
Below those four sections, you can see the most important buttons in the My Streams & Recordings space: Setup Live Stream, Setup Webinar, New Recording, and Open Studio. Each button directs you to different features available in Wave.video streaming studio.
Setup Live Stream
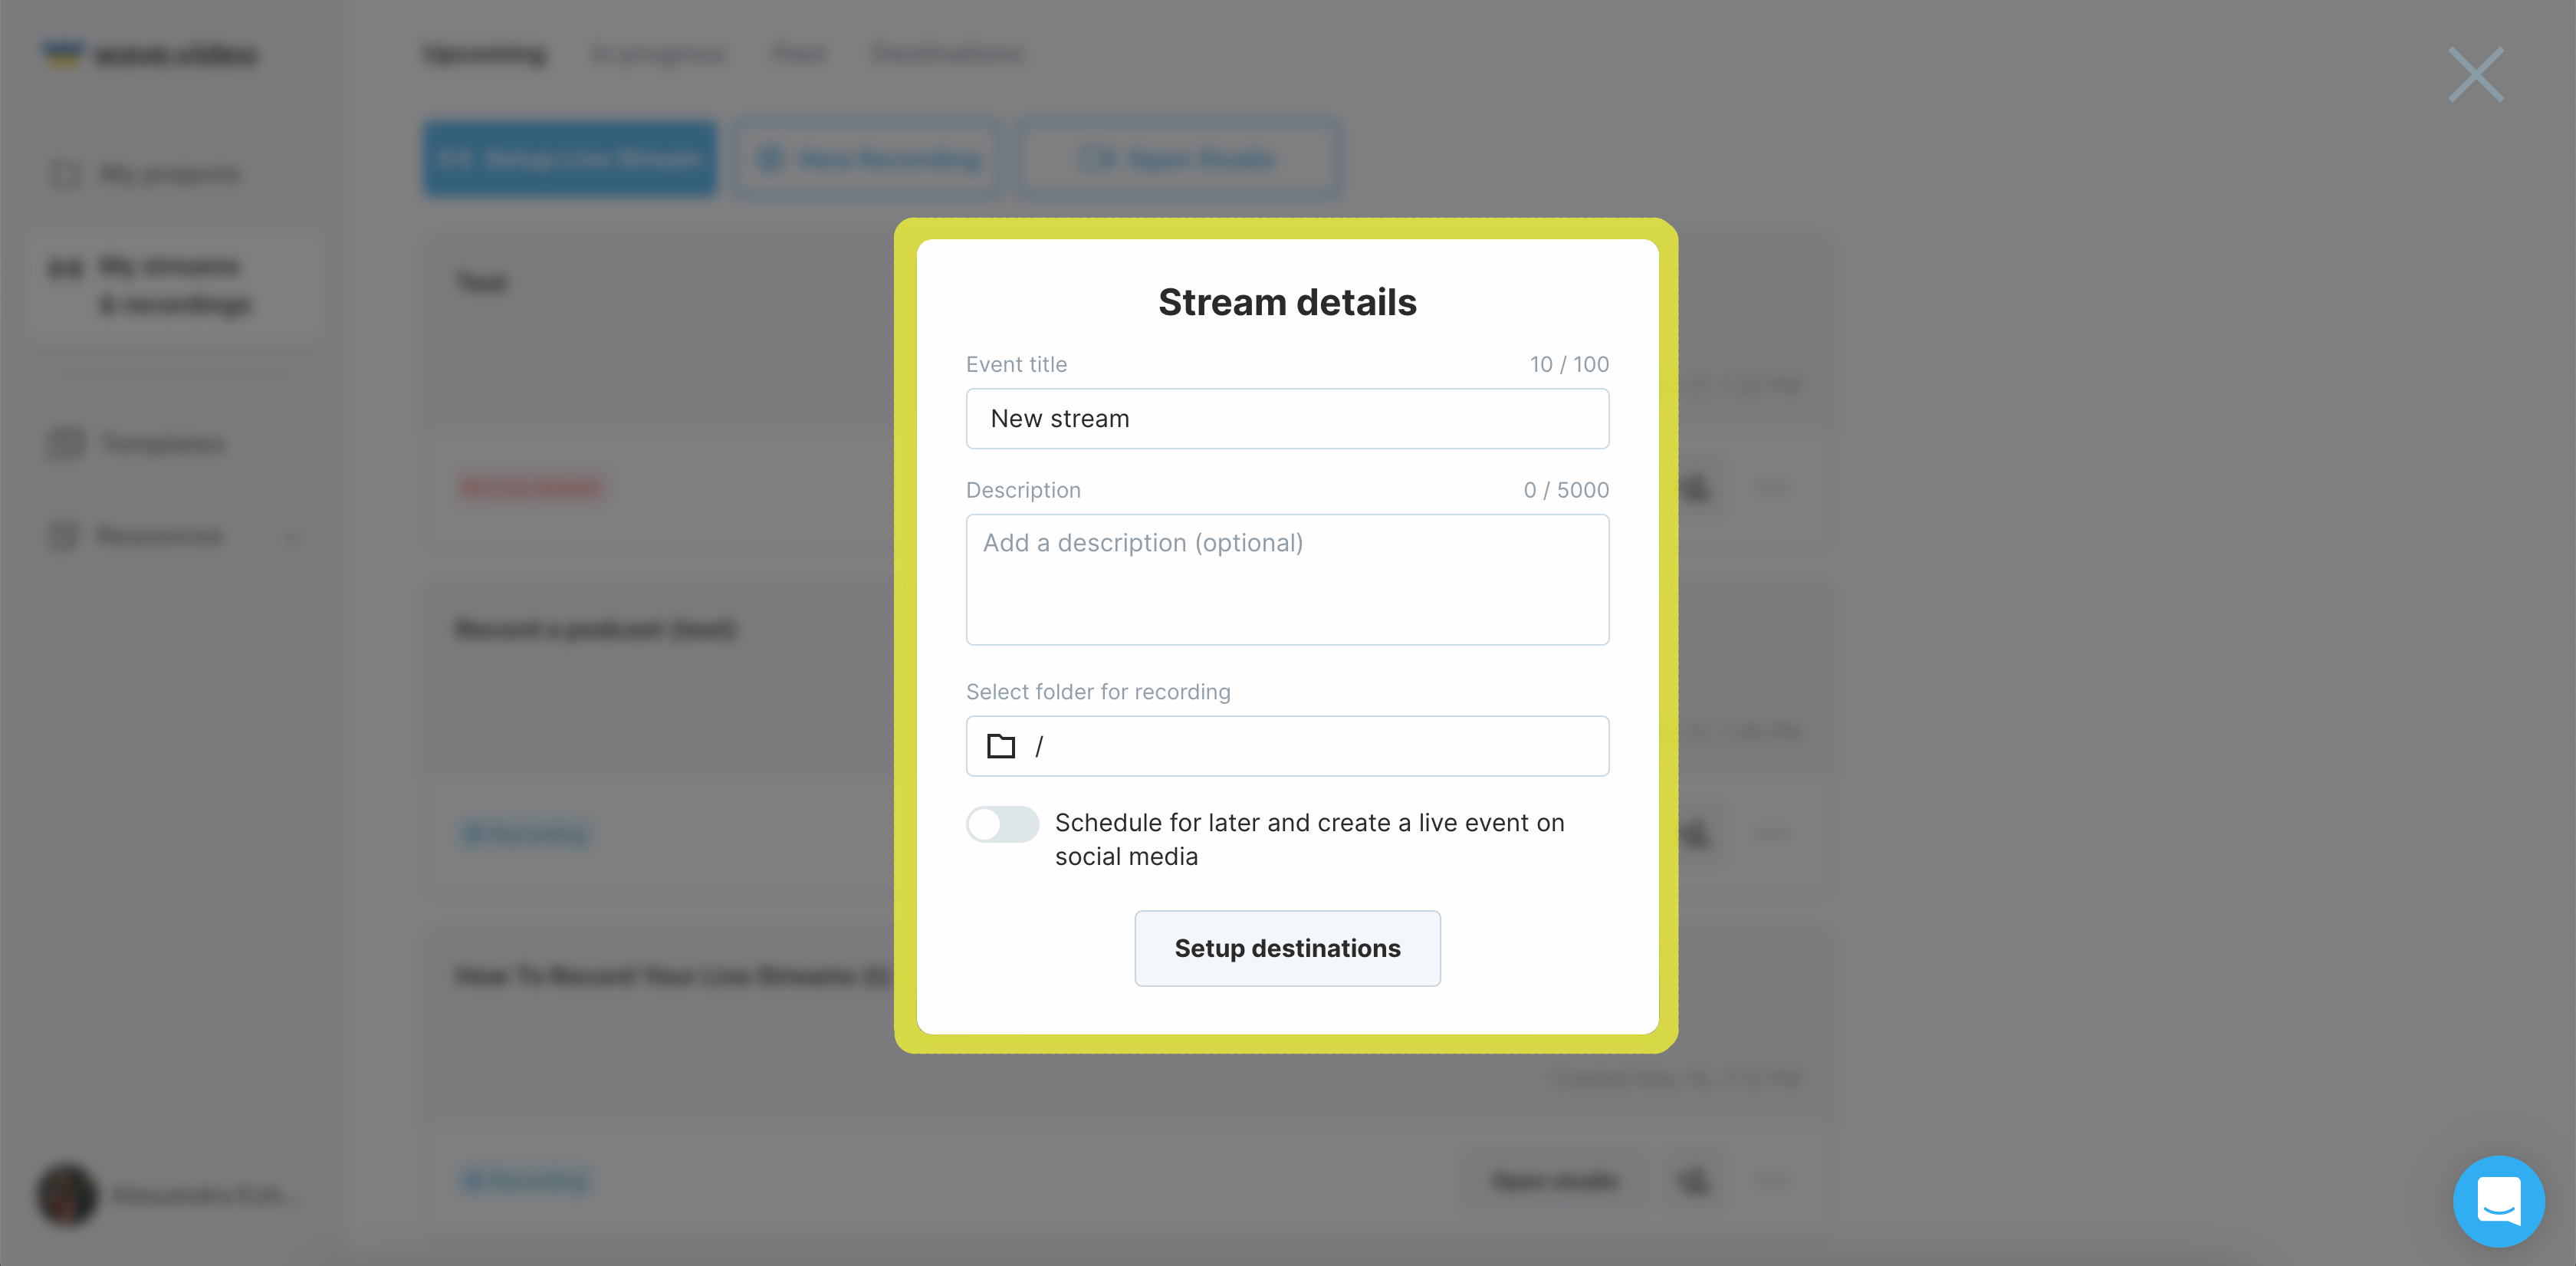
The easiest and the most direct way to start streaming is to click the Setup Live Stream button, choose destinations, schedule it for later or right ahead, enter the studio, and go live.
Here is a detailed knowledge base article on How to schedule a live stream; read the step-by-step guide to clear up the scheduling process.
Setup Webinar
If you don't want to stream to one of the listed destinations and run your stream as a webinar, you'll definitely like the webinar feature.
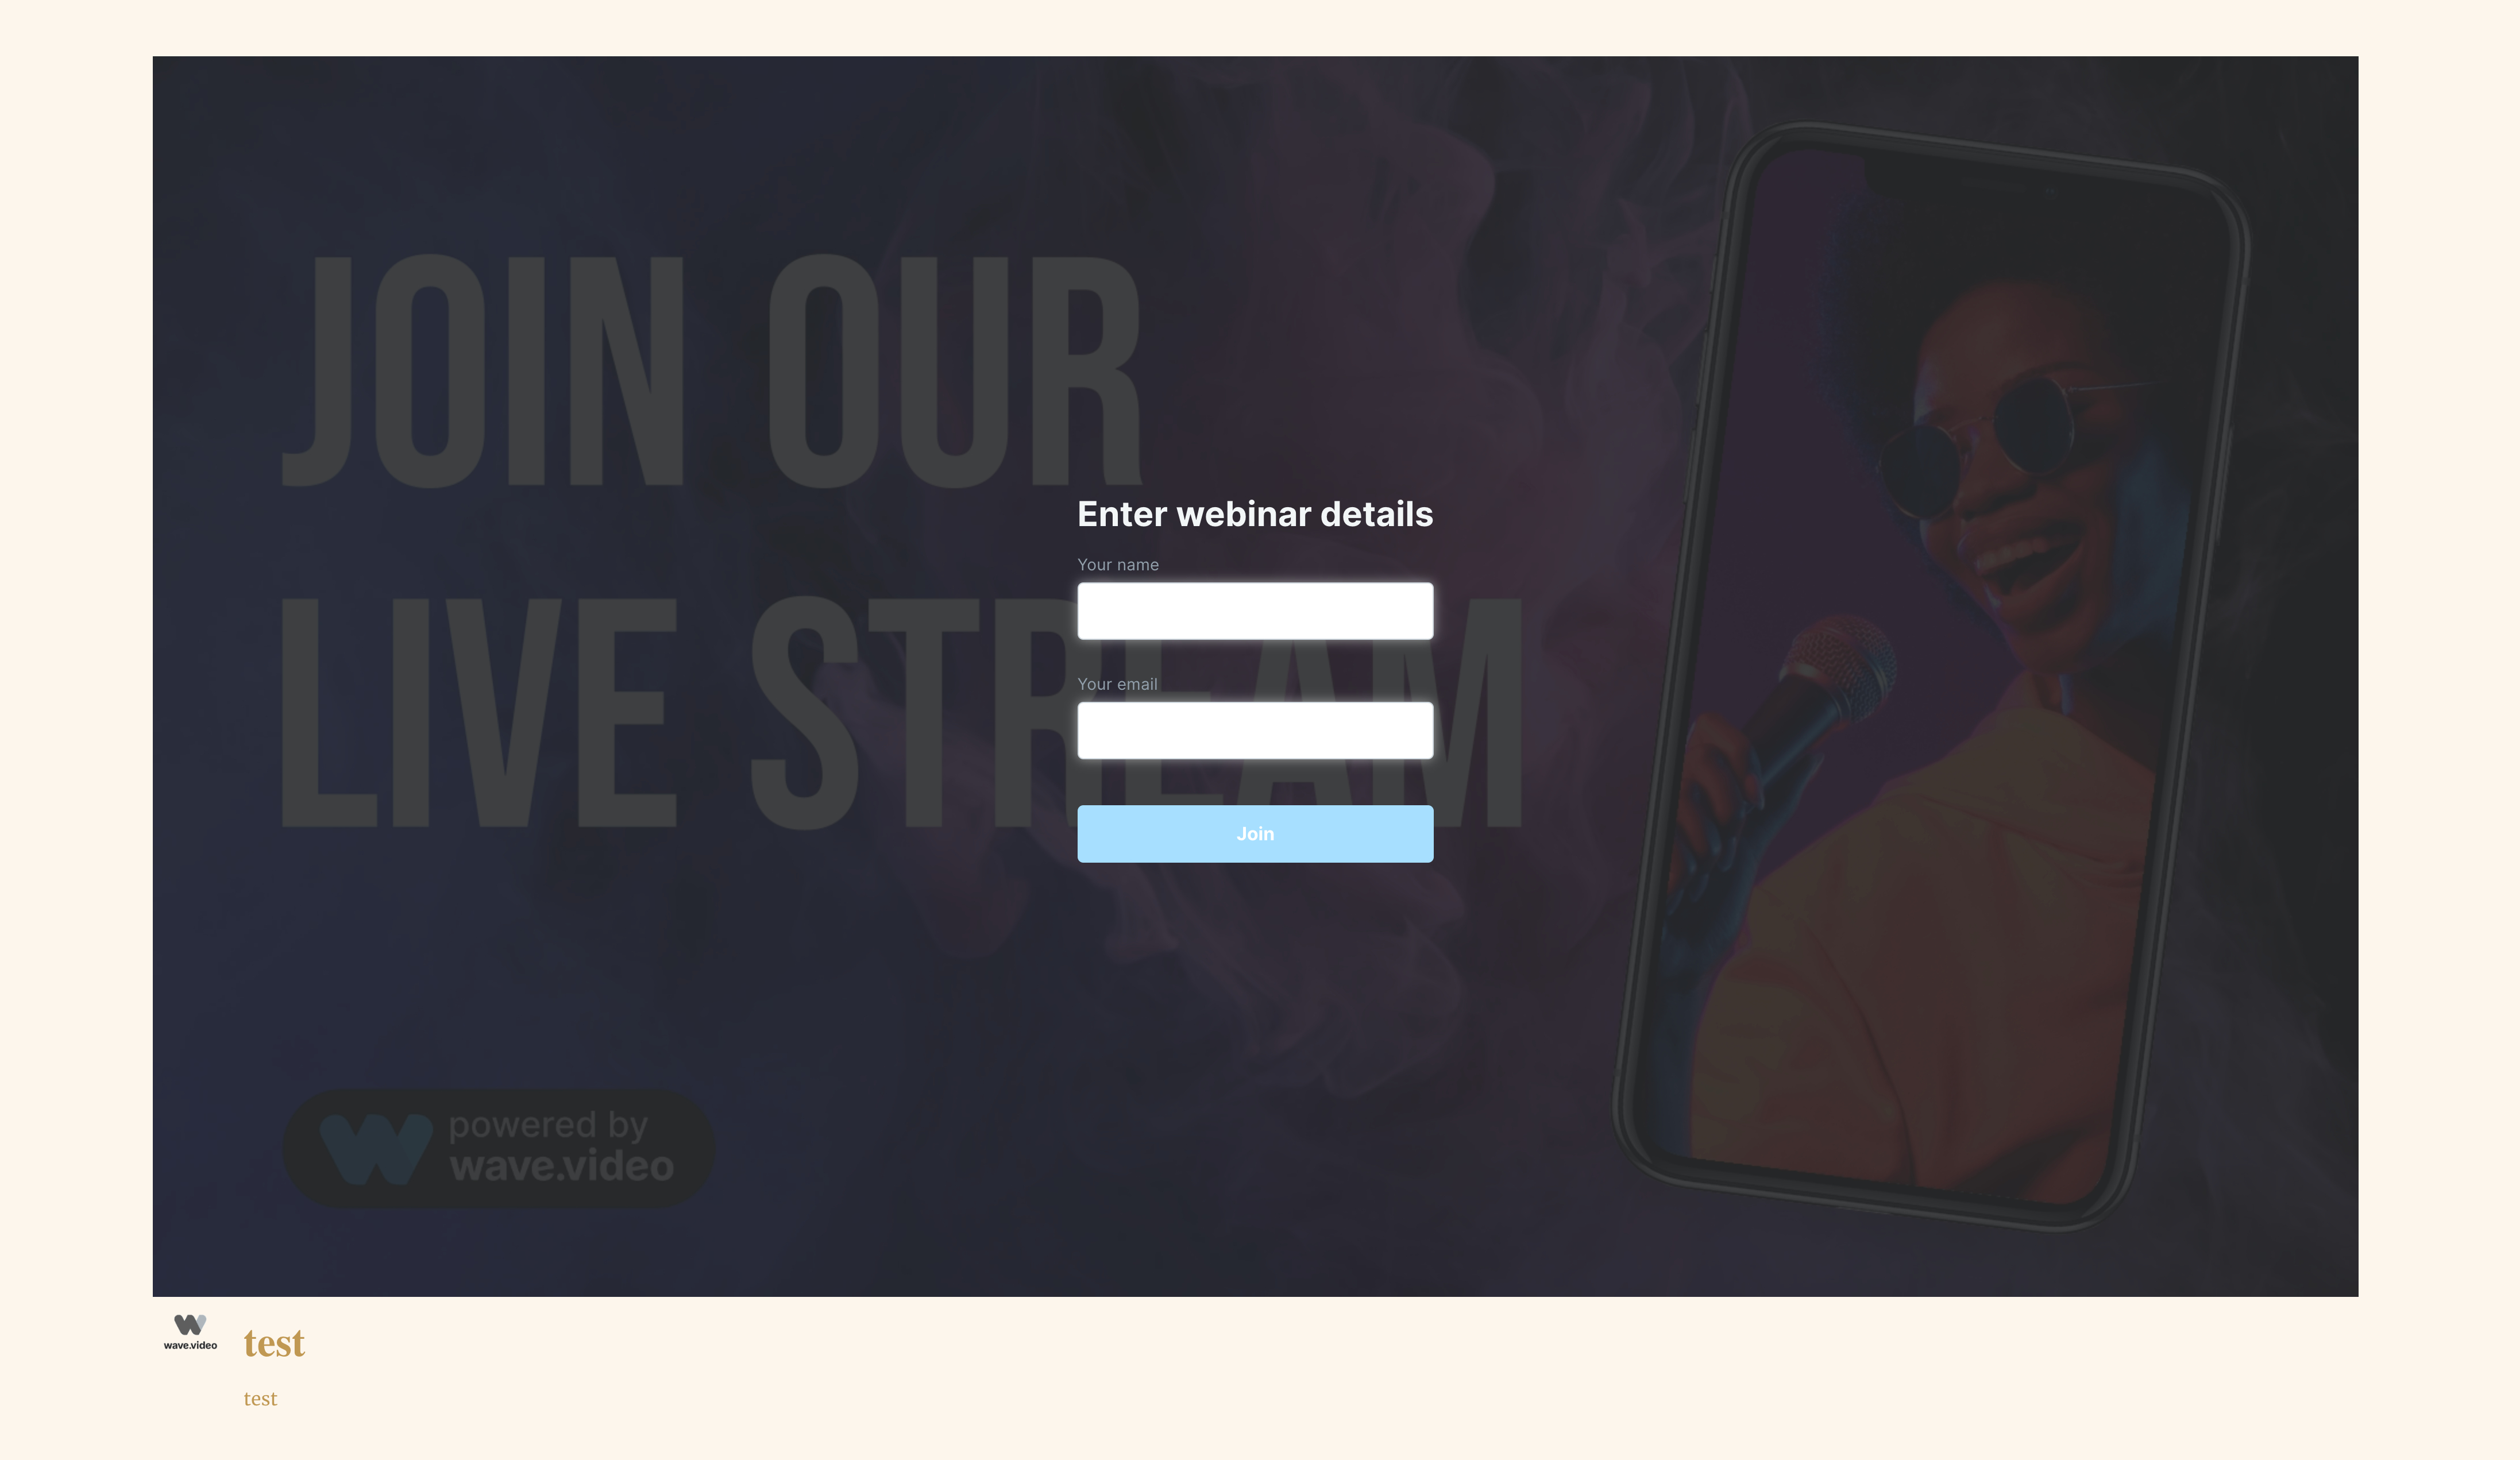
By choosing Webinar as a destination option, you create a separate lending page that airs your live.
It doesn't matter what the goal of your live is; it is a nice and simple way to address your audience it they are not presented on any of the listed social media platforms.
To know more about running a webinar with Wave.video, read the "How to run your webinar with Wave.video" article.
New Recording
Whether you're recording a video or podcast, our studio offers all the essential features of a recording tool. Simply click the New Recording button, and you'll be seamlessly directed to the studio, equipped with various tools. The only difference? You won't be visible to others.
Take control of your production with scene management, add additional media files, collaborate with up to 12 guests simultaneously, share your screen, and unlock the full potential of Wave.video studio.
For more information about recording in Wave.video studio, go here.
Open Studio
For those of you who are just interested in exploring the studio, click the Open Studio button. Once inside, navigate through the rich features and delve deeper into the specific functionalities of the studio. Unleash the full potential of your live streaming experience with practical and enjoyable tools at your fingertips.
Wave.video livestreaming studio insights
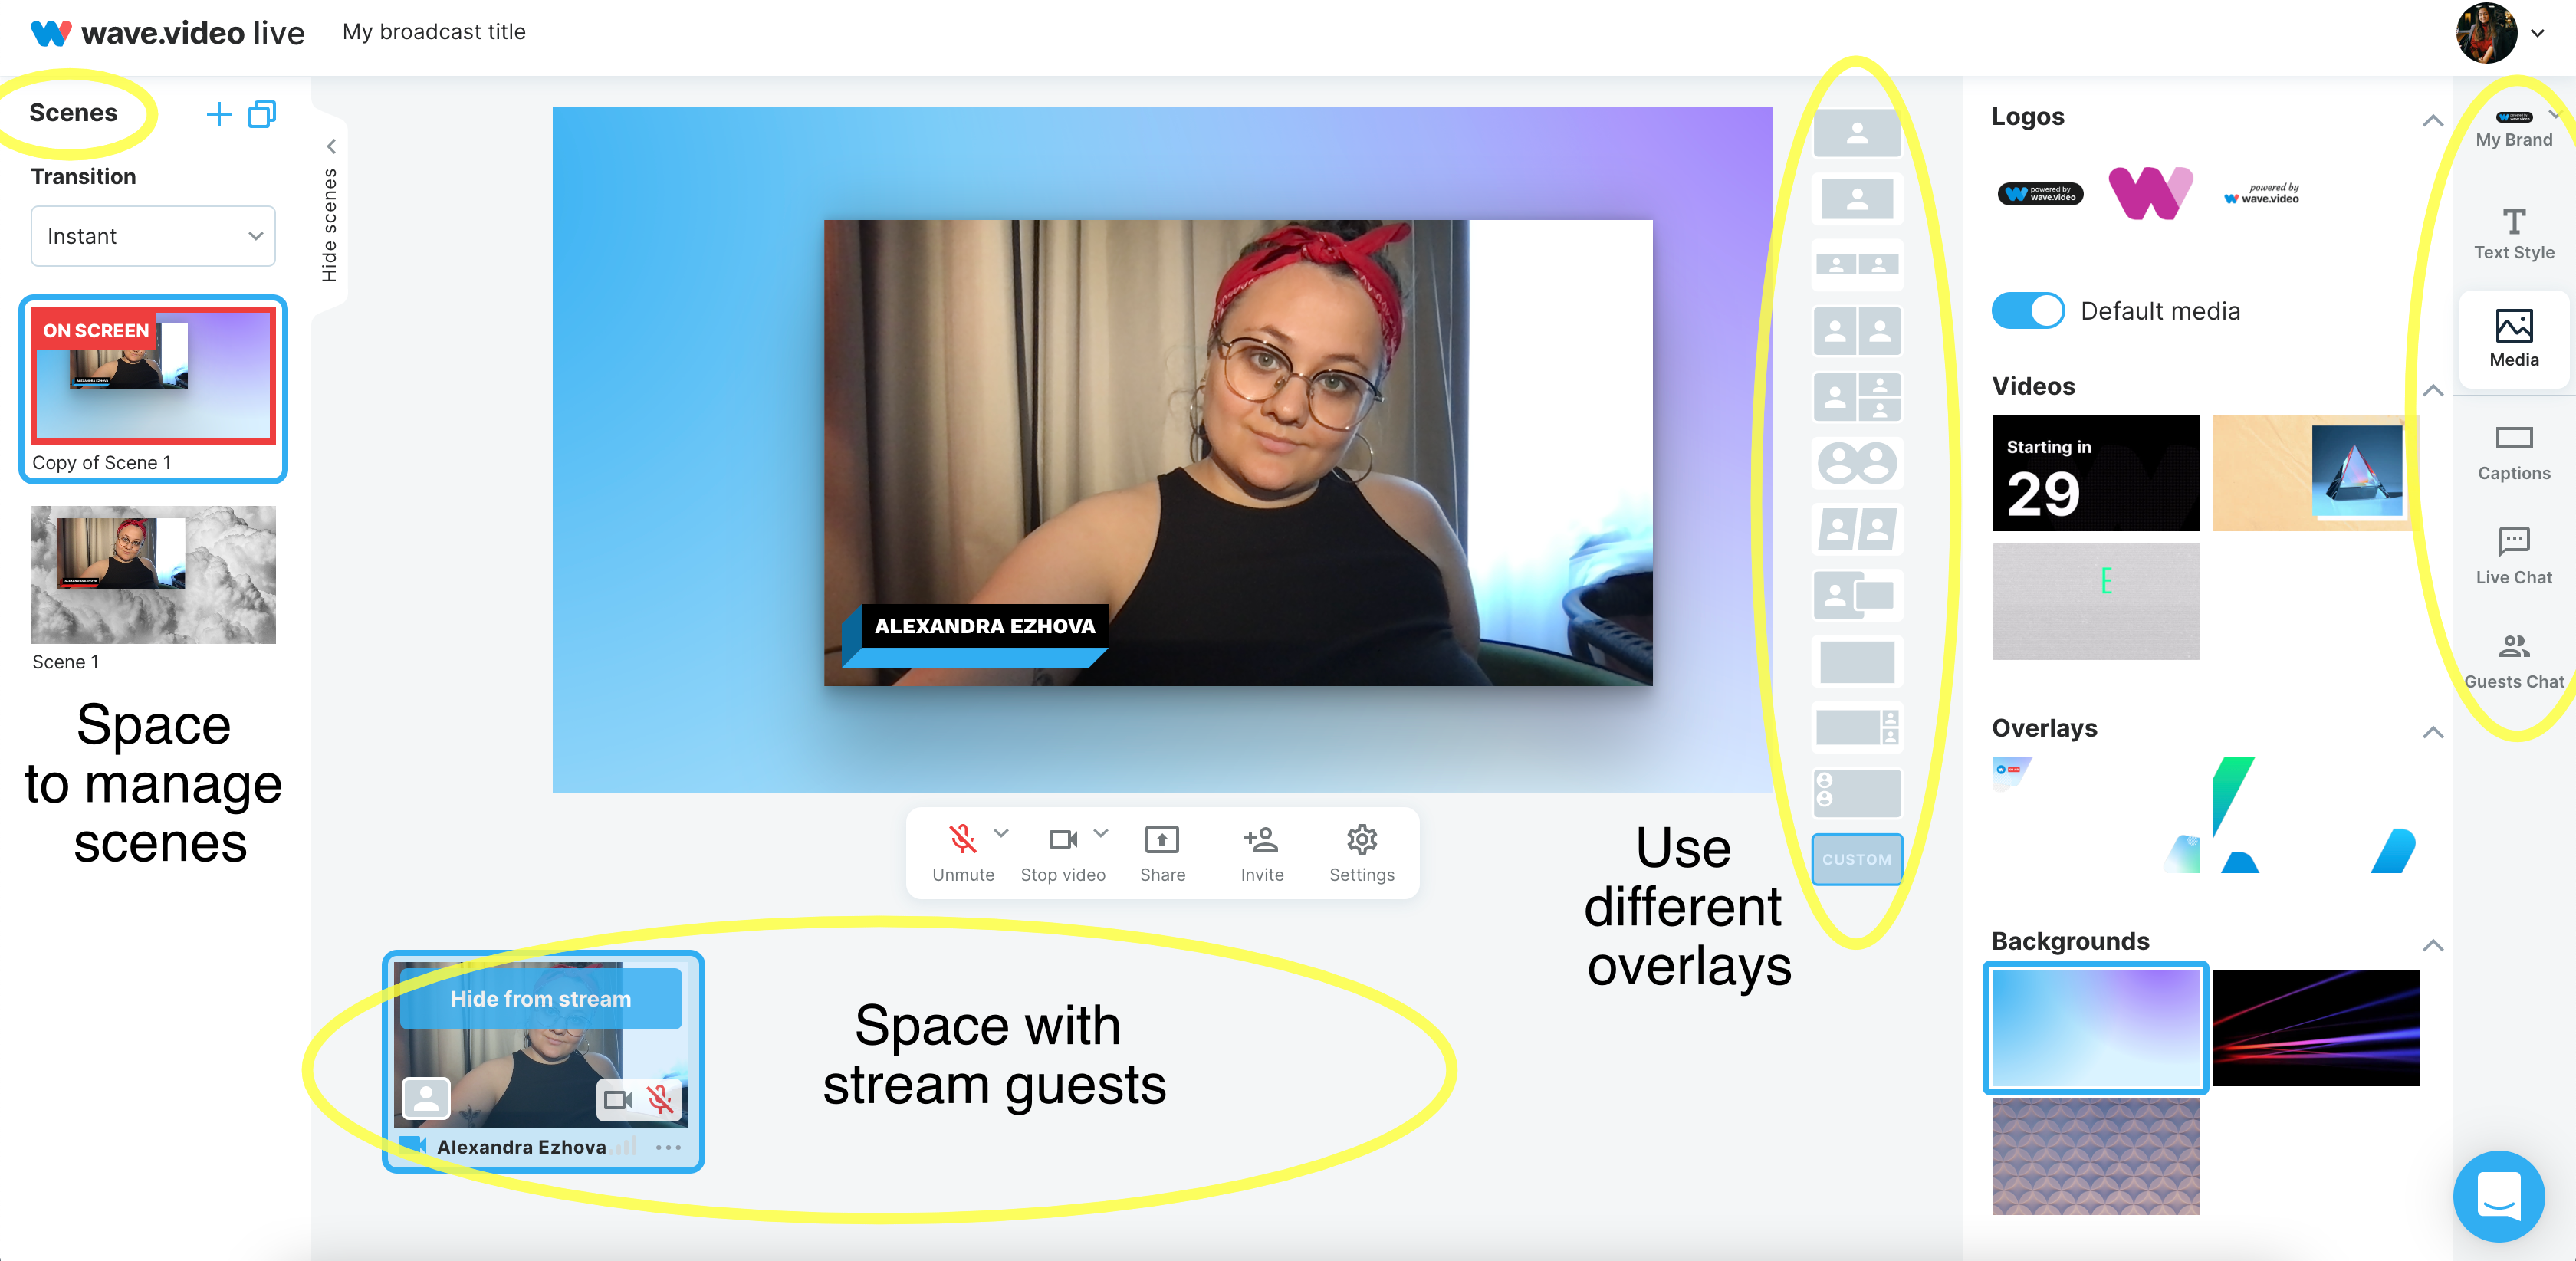
When you visit the Wave.video studio, the Scenes menu is on the left side. Here you can:
Control the transaction mode.
Easily add, duplicate, or delete scenes.
Seamlessly switch between different scenes.
Rearrange the order of scenes as needed.
To know more about studio scenes, check out the following knowledge base articles:
On the right side of the screen, you'll find several sections that offer various functionalities:
Brand: allows you to add new brands and switch between them effortlessly whenever needed.
Text style: customize the color and theme of the text to match your preferences.
Media: This section is divided into subsections such as logo, videos, overlays, backgrounds, sound FX, and audio. Each subsection provides easy access to manage and utilize corresponding media assets.
Captions: add new captions and control their visibility on the screen, giving you complete control over the display of text.
Live chat: displays comments from viewers and provides an overview of the streaming destinations you are broadcasting to.
Private chat: the chat section is dedicated to stream guests, offering a private space for interaction and communication.
Teleprompter: display all the necessary information right over the screen. A little trick that your watchers would never know about.
To the right of the screen, you can choose from various overlays, enabling you to arrange and enhance the scene as desired creatively.
At the bottom of the screen, you'll find a list of all the stream participants. By hovering your mouse over a guest's image, you can easily toggle their visibility on or off, deciding whether to show or hide them on the screen at any given moment.
If you want to know more about streaming with Wave.video, read some other articles:


